Movement in 3D Space
Introduction
Before you keep reading, have a look at this overview of camera movements from movies and television.
Here are the specific camera movements mentioned – all of these are possible to do in Alice:
- the pan
- the tilt
- the zoom
- the dolly
- the pedestal shot
- the crane or boom shot
Position and Orientation
The centre point of an object marks it's current position.
The centre point of an object is the intersection of its three axes:
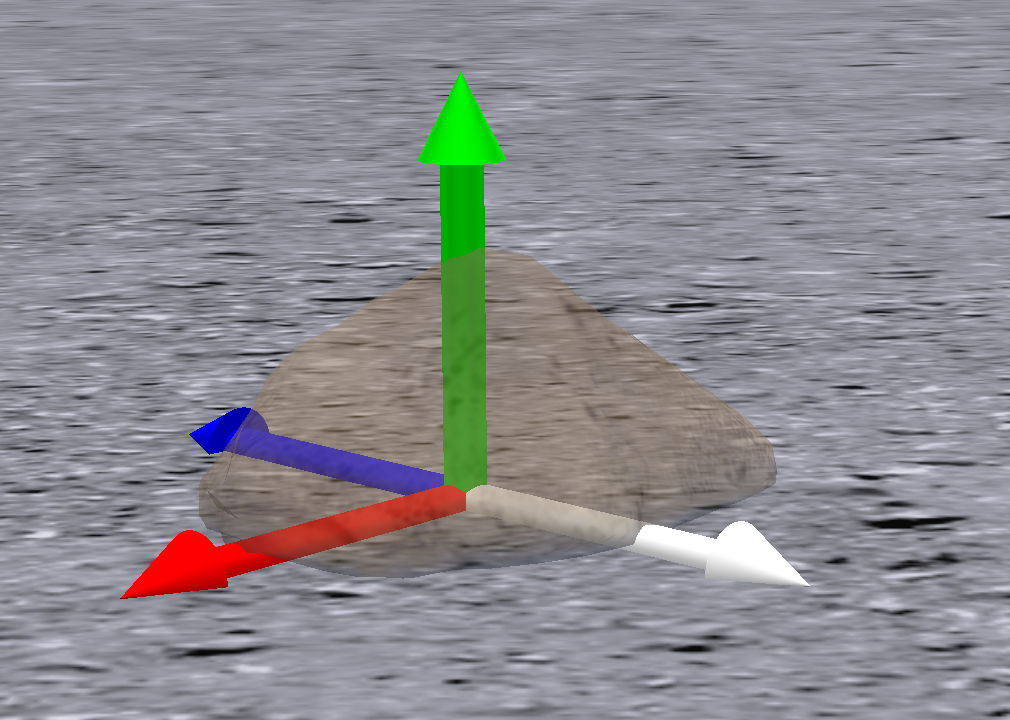
- Green axis: up/down
- Red axis: right/left
- White/Blue axis: forward/backward
The white axis indicates an object's orientation.
An object's orientation can be determined by which way it's white axis is pointing.
Movement
Moving an object in Alice will change its position, but never it's orientation.
In each of the three movement examples below, notice that the direction of the white axis (orientation) never changes.
Move Up/Down
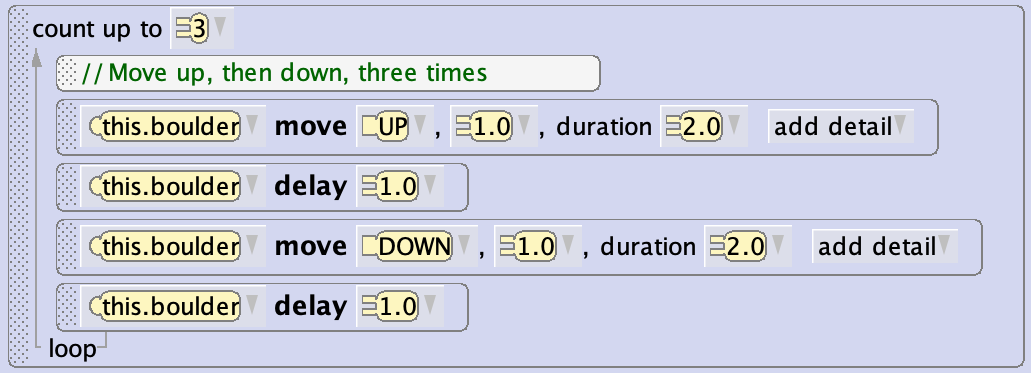
Here a boulder moves up (along green axis), pauses, then moves down, and pauses.
This action is repeated three times:

Here is the code that produced the animation shown above:
Move Right/Left
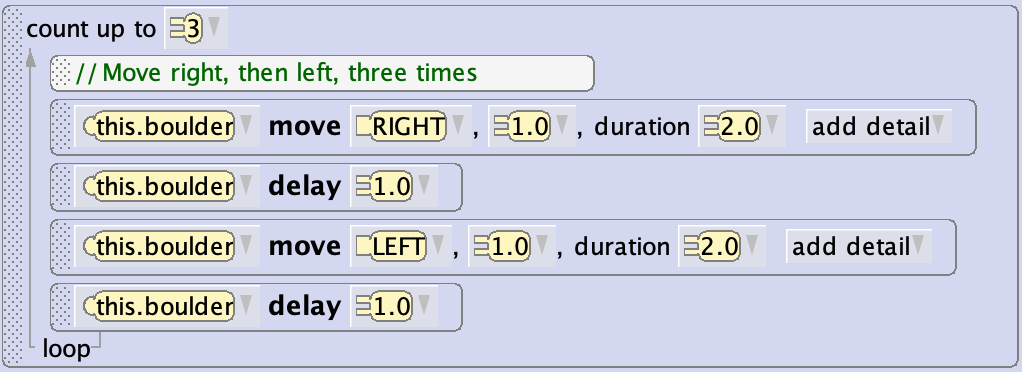
Here a boulder moves right (along red axis), pauses, then moves left, and pauses.
This action is repeated three times:

Here is the code that produced the animation shown above:
Move Forward/Backward
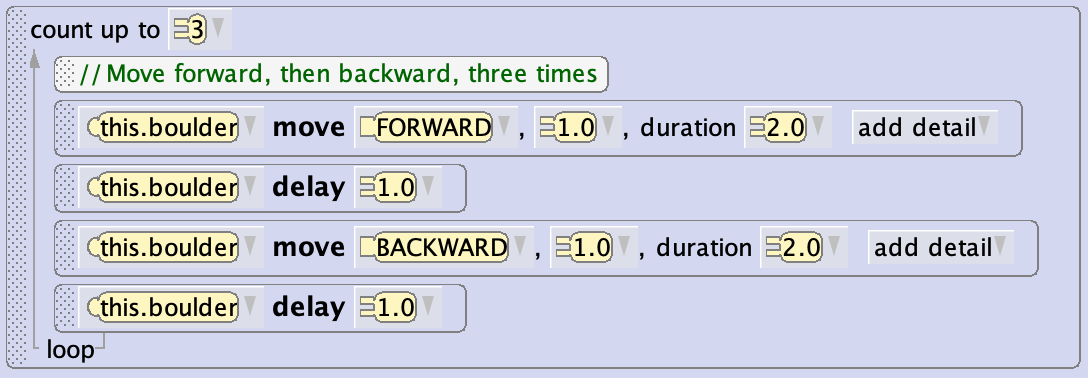
Here a boulder moves forward (along white axis), pauses, then moves backward (along blue axis), and pauses.
This action is repeated three times:

Here is the code that produced the animation shown above:
Orientation
Turning or rolling an object changes it's orientation, but never it's position.
In each of the three examples below, notice that the centre point of the object (position) never changes.
Turn Right/Left
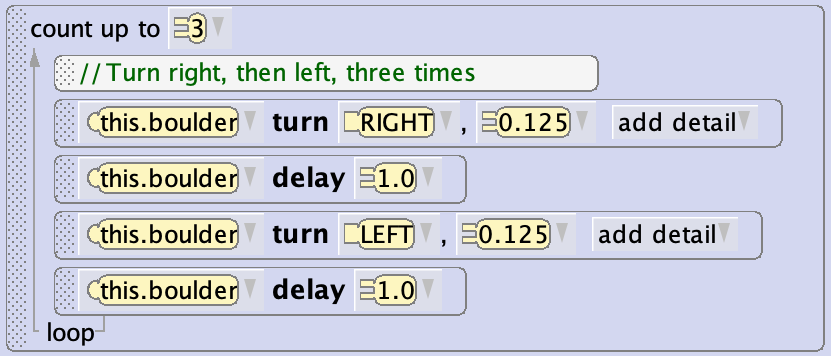
Here a boulder turns right, pauses, then turns left, and pauses.
This action is repeated three times:

Turning right/left can be thought of as a rotation around the green axis.
Here is the code that produced the animation shown above:
Turn Forward/Backward
Here a boulder turns forward, pauses, then turns backward, and pauses.
This action is repeated three times:

Turning forward/backward can be thought of as a rotation around the red axis.
Here is the code that produced the animation shown above:
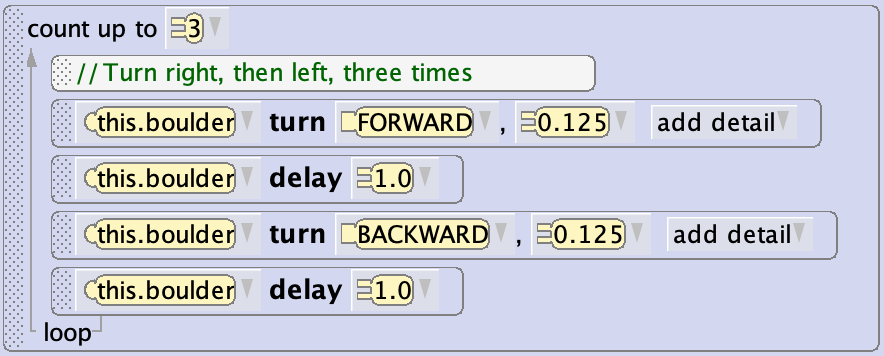
Rolling Right/Left
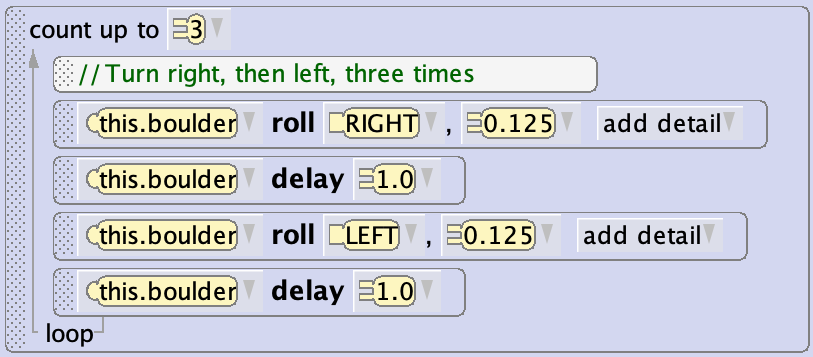
Here a boulder rolls to the right, pauses, then rolls left, and pauses.
This action is repeated three times:

Rolling right/left can be thought of as a rotation around the white/blue axis.
Here is the code that produced the animation shown above:
Movement and Orientation
An object can, of course, both move (change it's position) and turn or roll (change it's orientation) at the same time.
Do Together
This is a do-together tile.

Any statements placed inside a do-together tile will run at the same time.
Usually, the duration for statements placed inside a do-together tile are made to be identical.
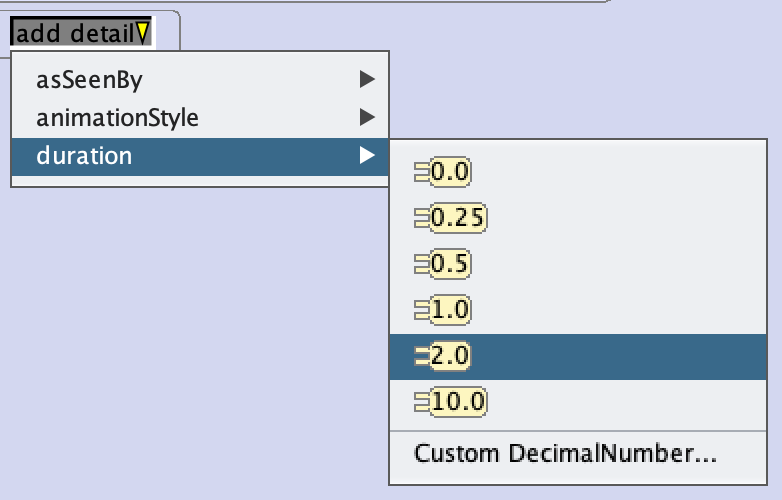
The duration for a tile in Alice can be set using the add detail drop-down:
Exercises
The pan, tilt, and zoom camera movements are all pretty straightforward to implement in Alice, if you have carefully studied the position and orientation examples given above.
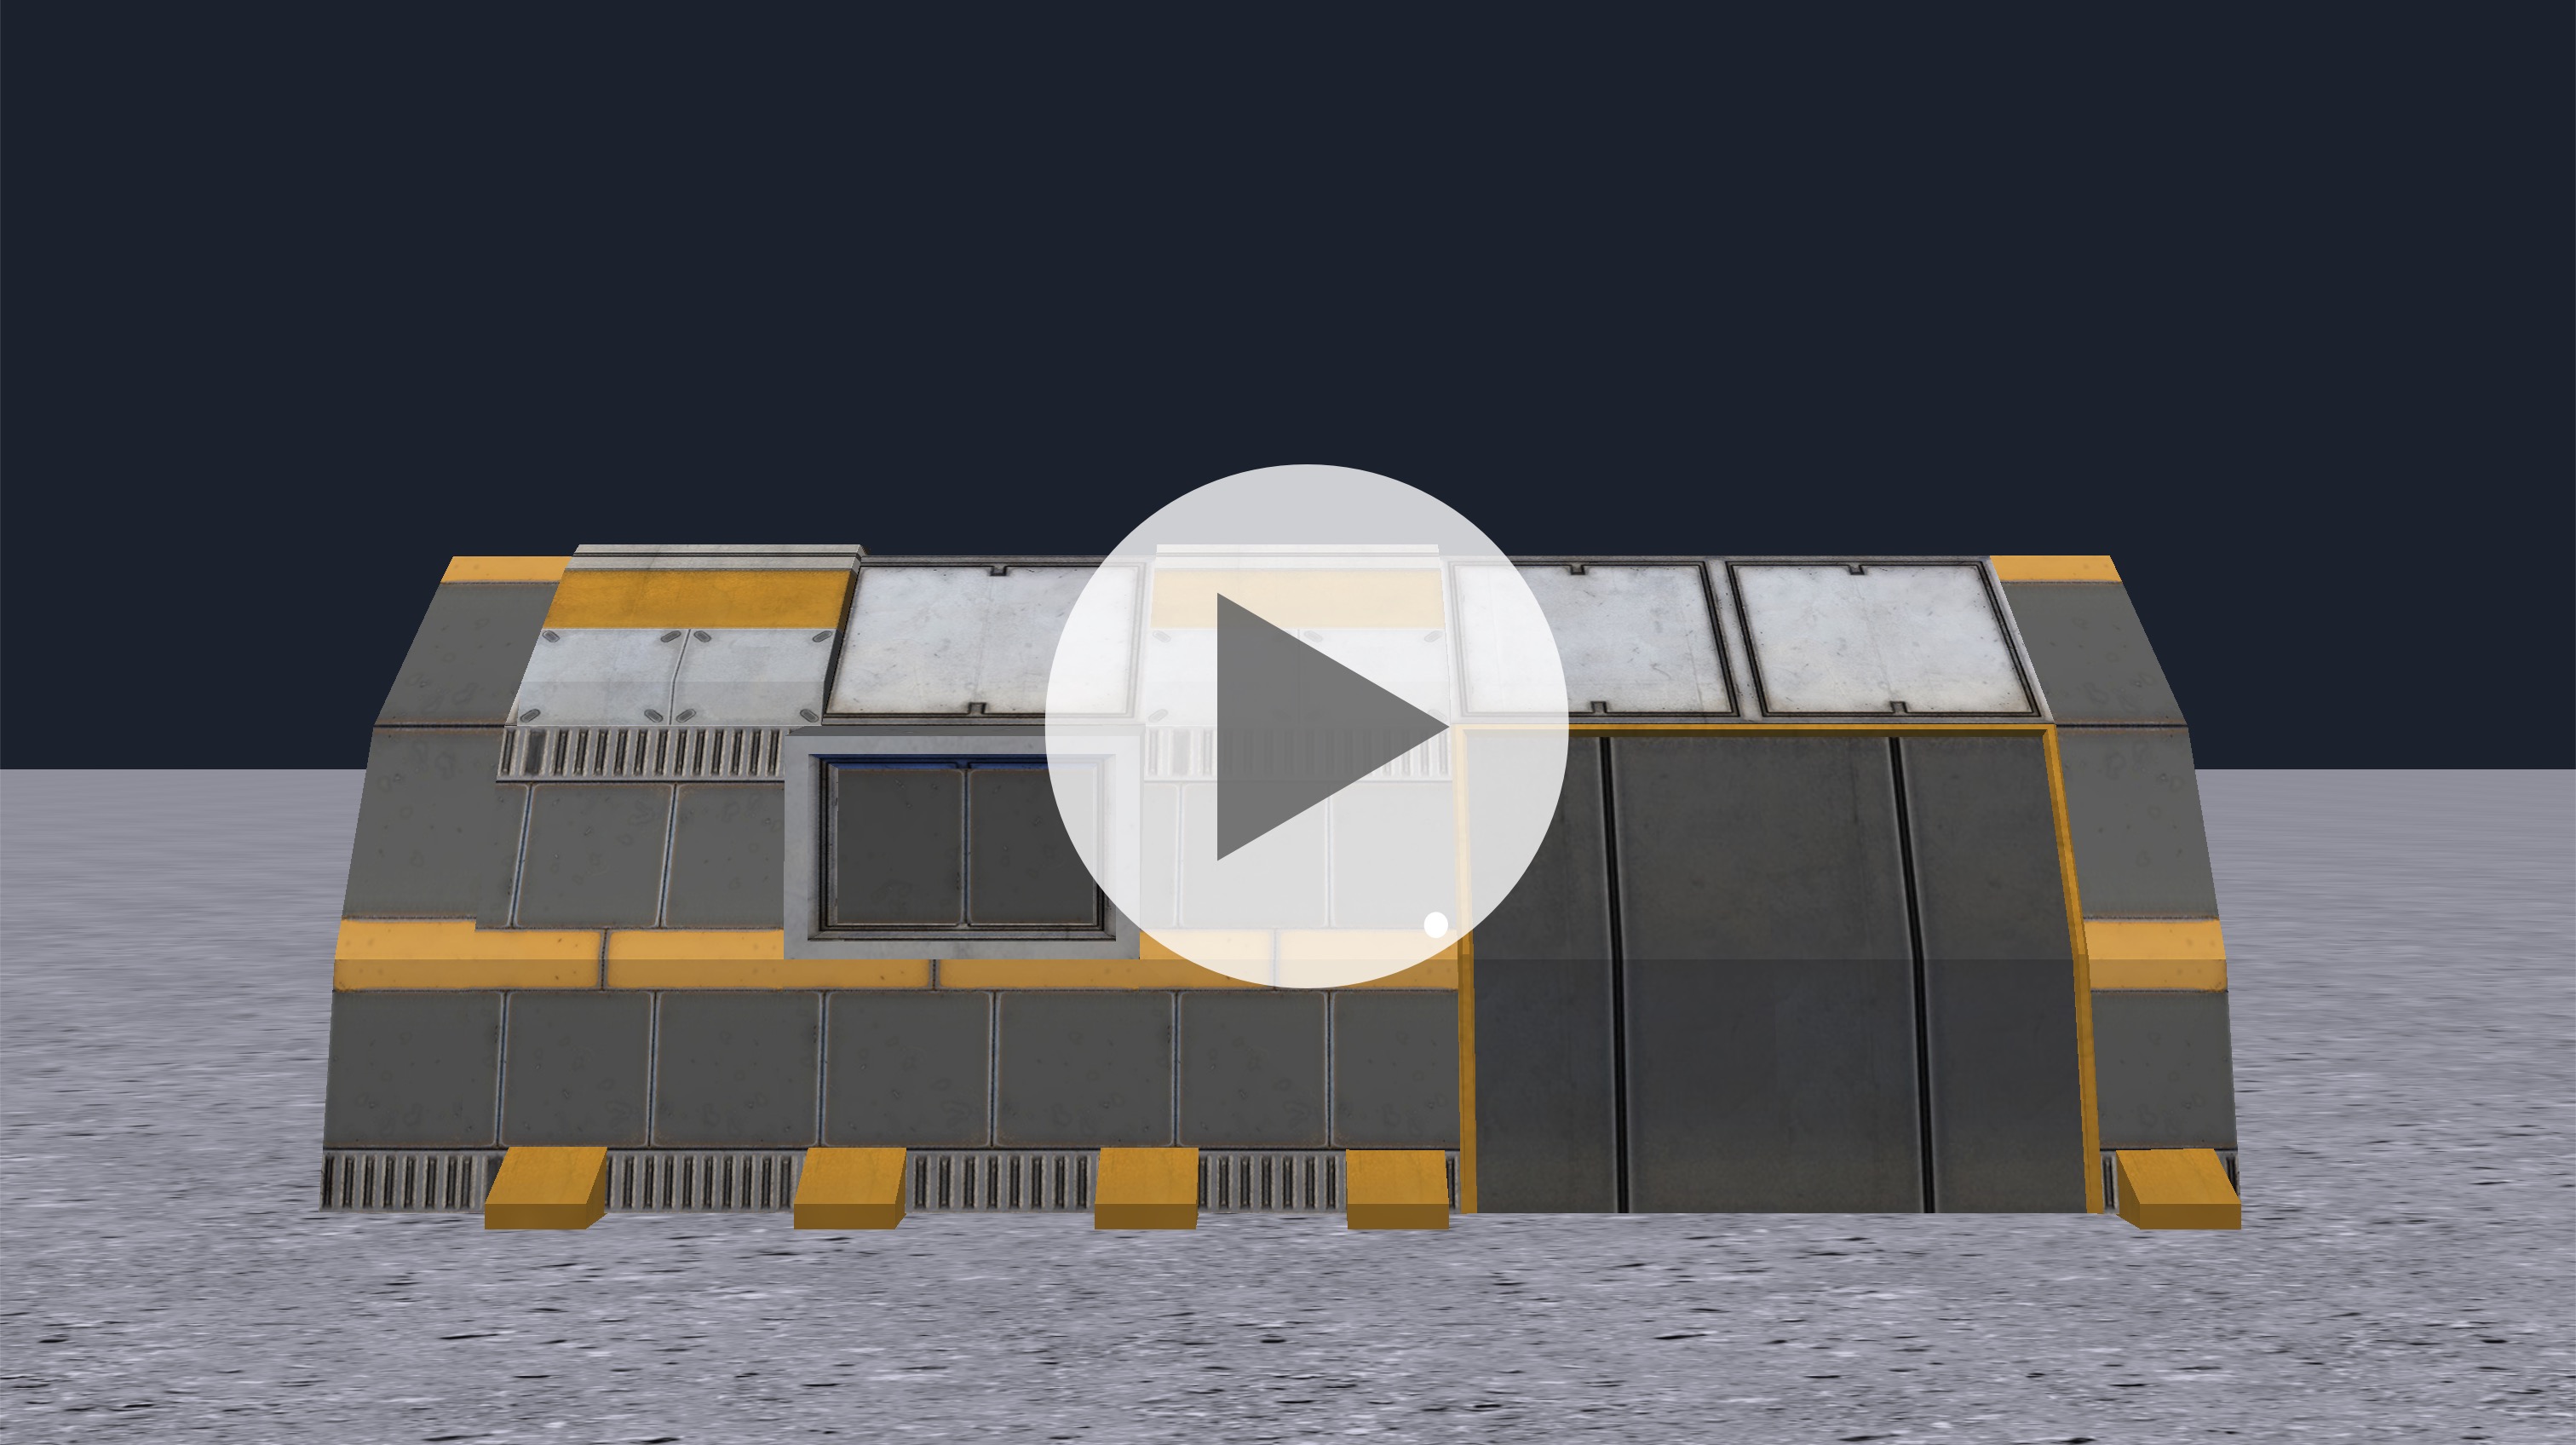
The goal of these exercises is for you to be comfortable with understanding how to implement a semi-circular dolly shot, like this:
Camera movements of this nature are commonly used in movies or television shows to establish for the audience what a scene looks like.
Exercise 1
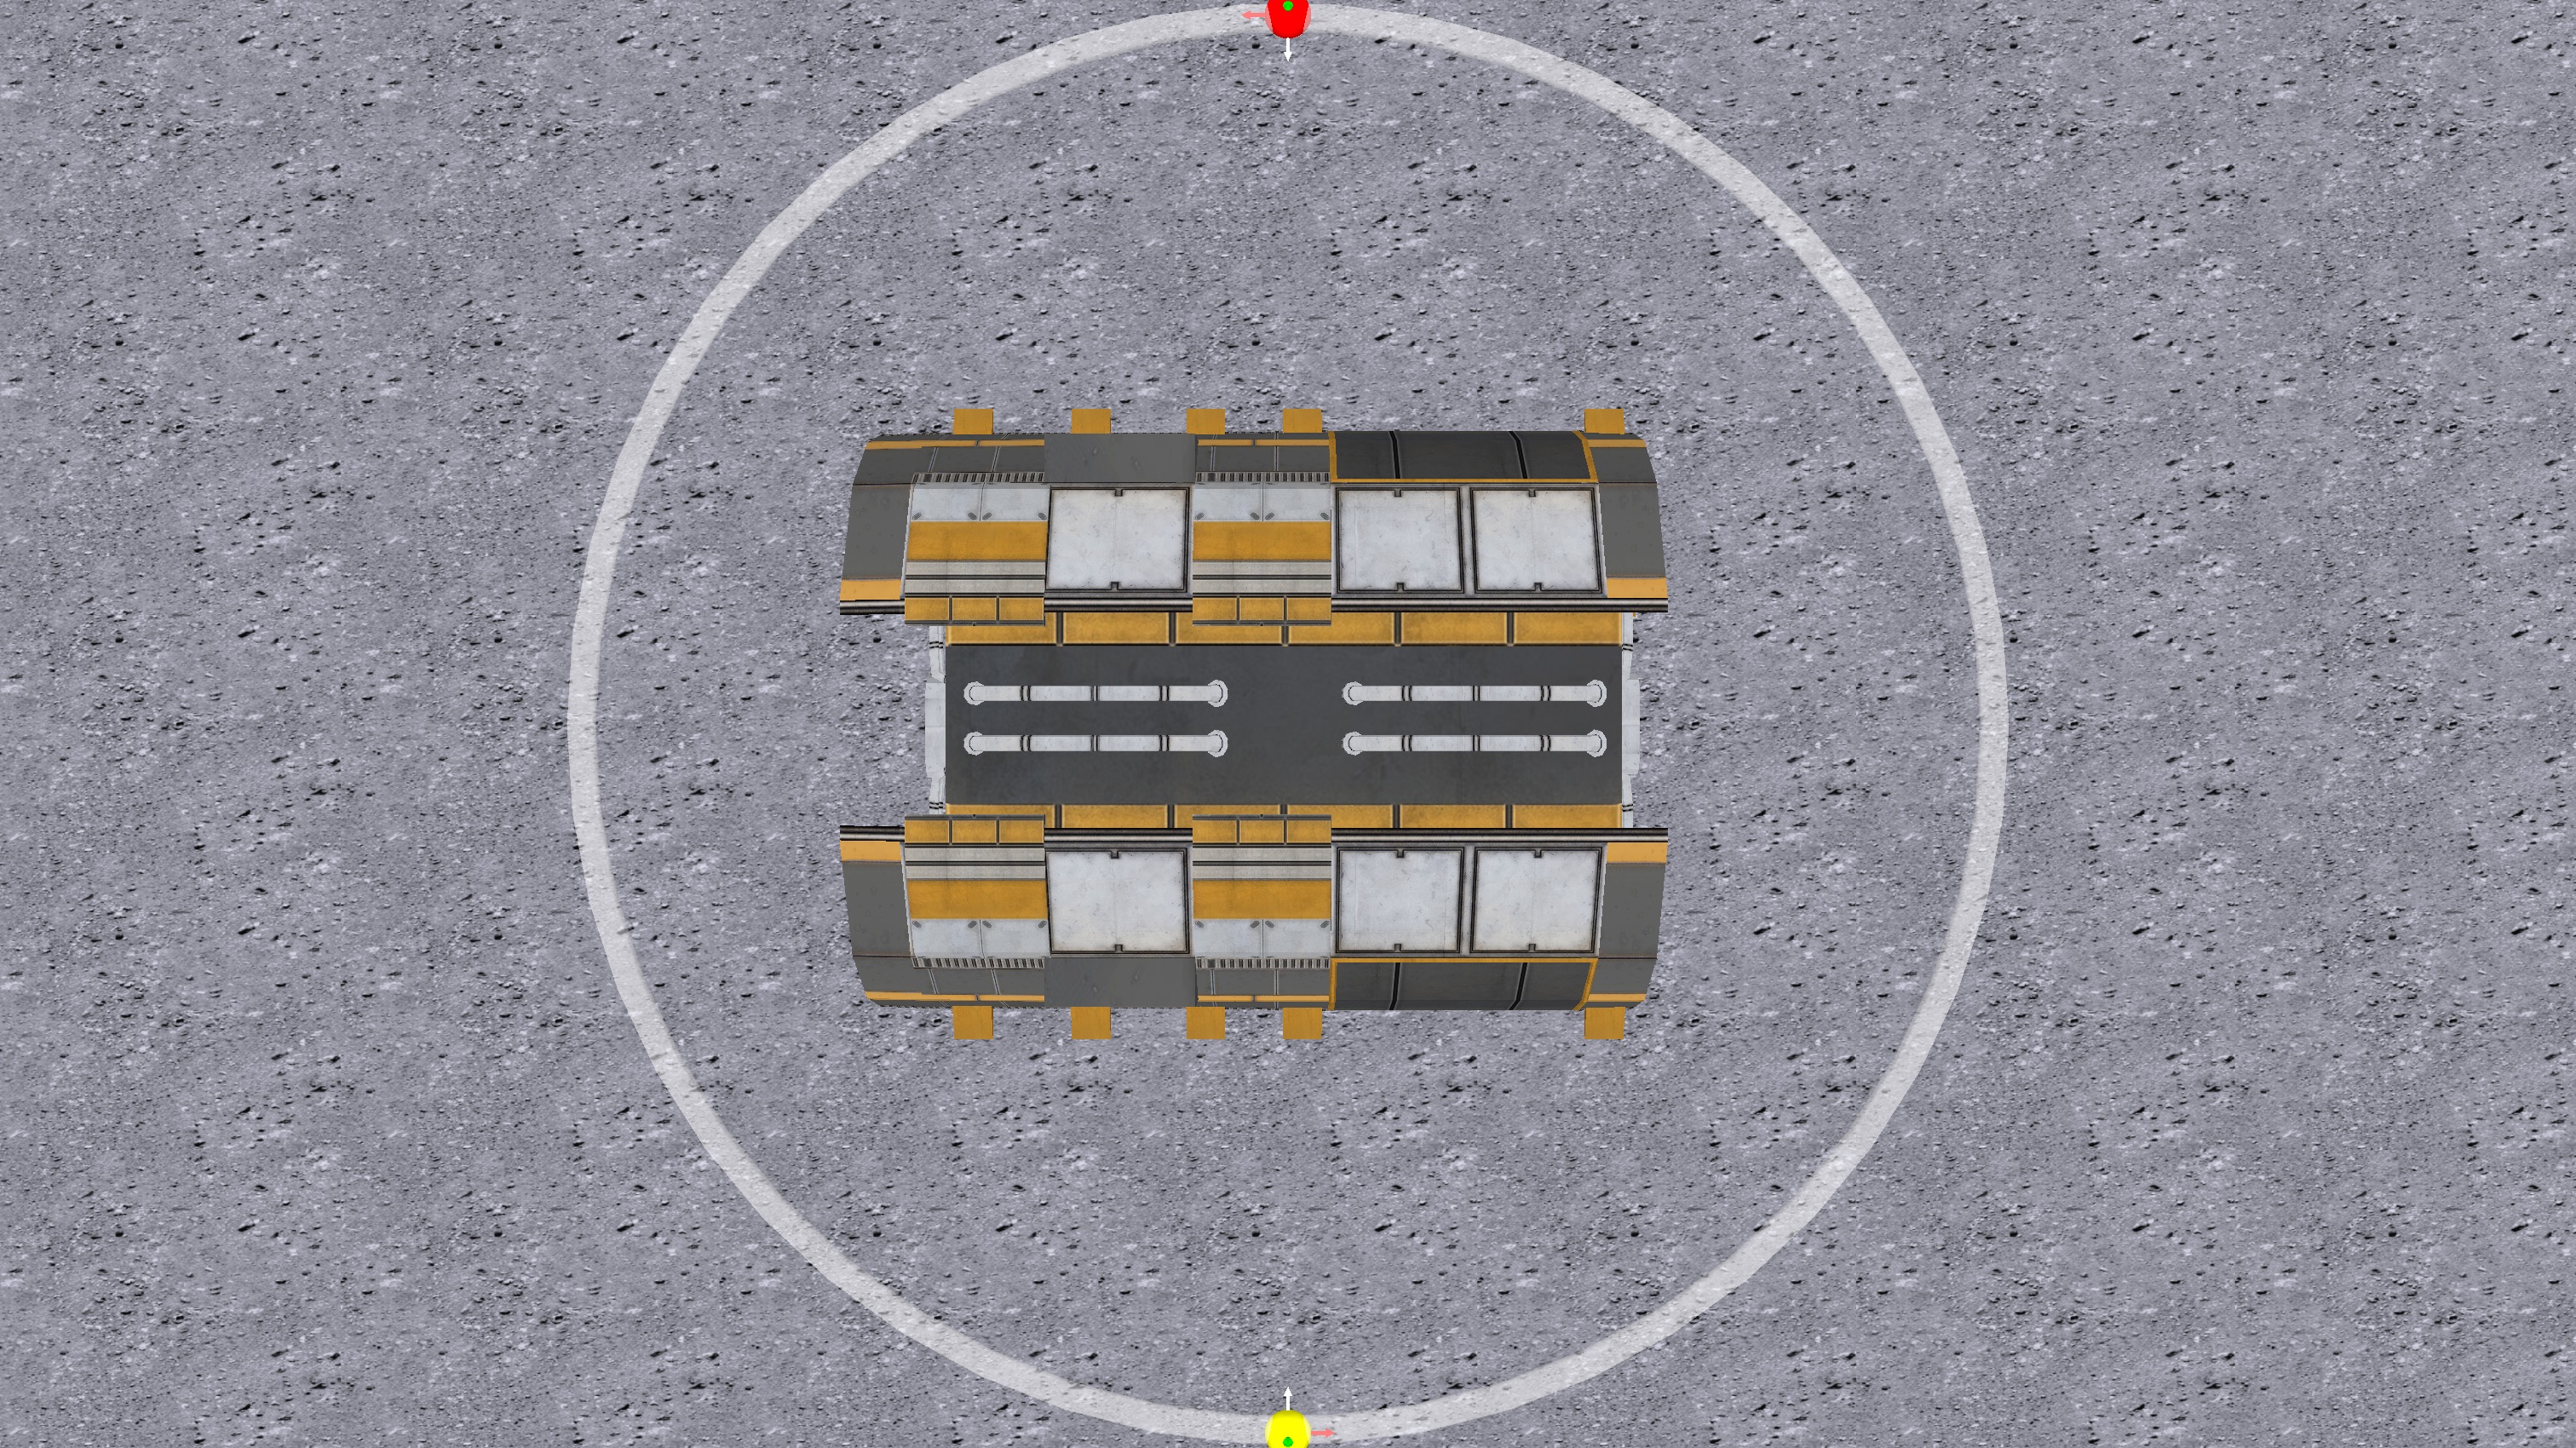
First, download the starter world:
Notice that:
- there is a yellow sphere with its axes showing at the bottom of the frame
- there is a red sphere with its axes showing at the top of the frame
- there is a semi-transparent torus (essentially a circular path) connecting the two spheres
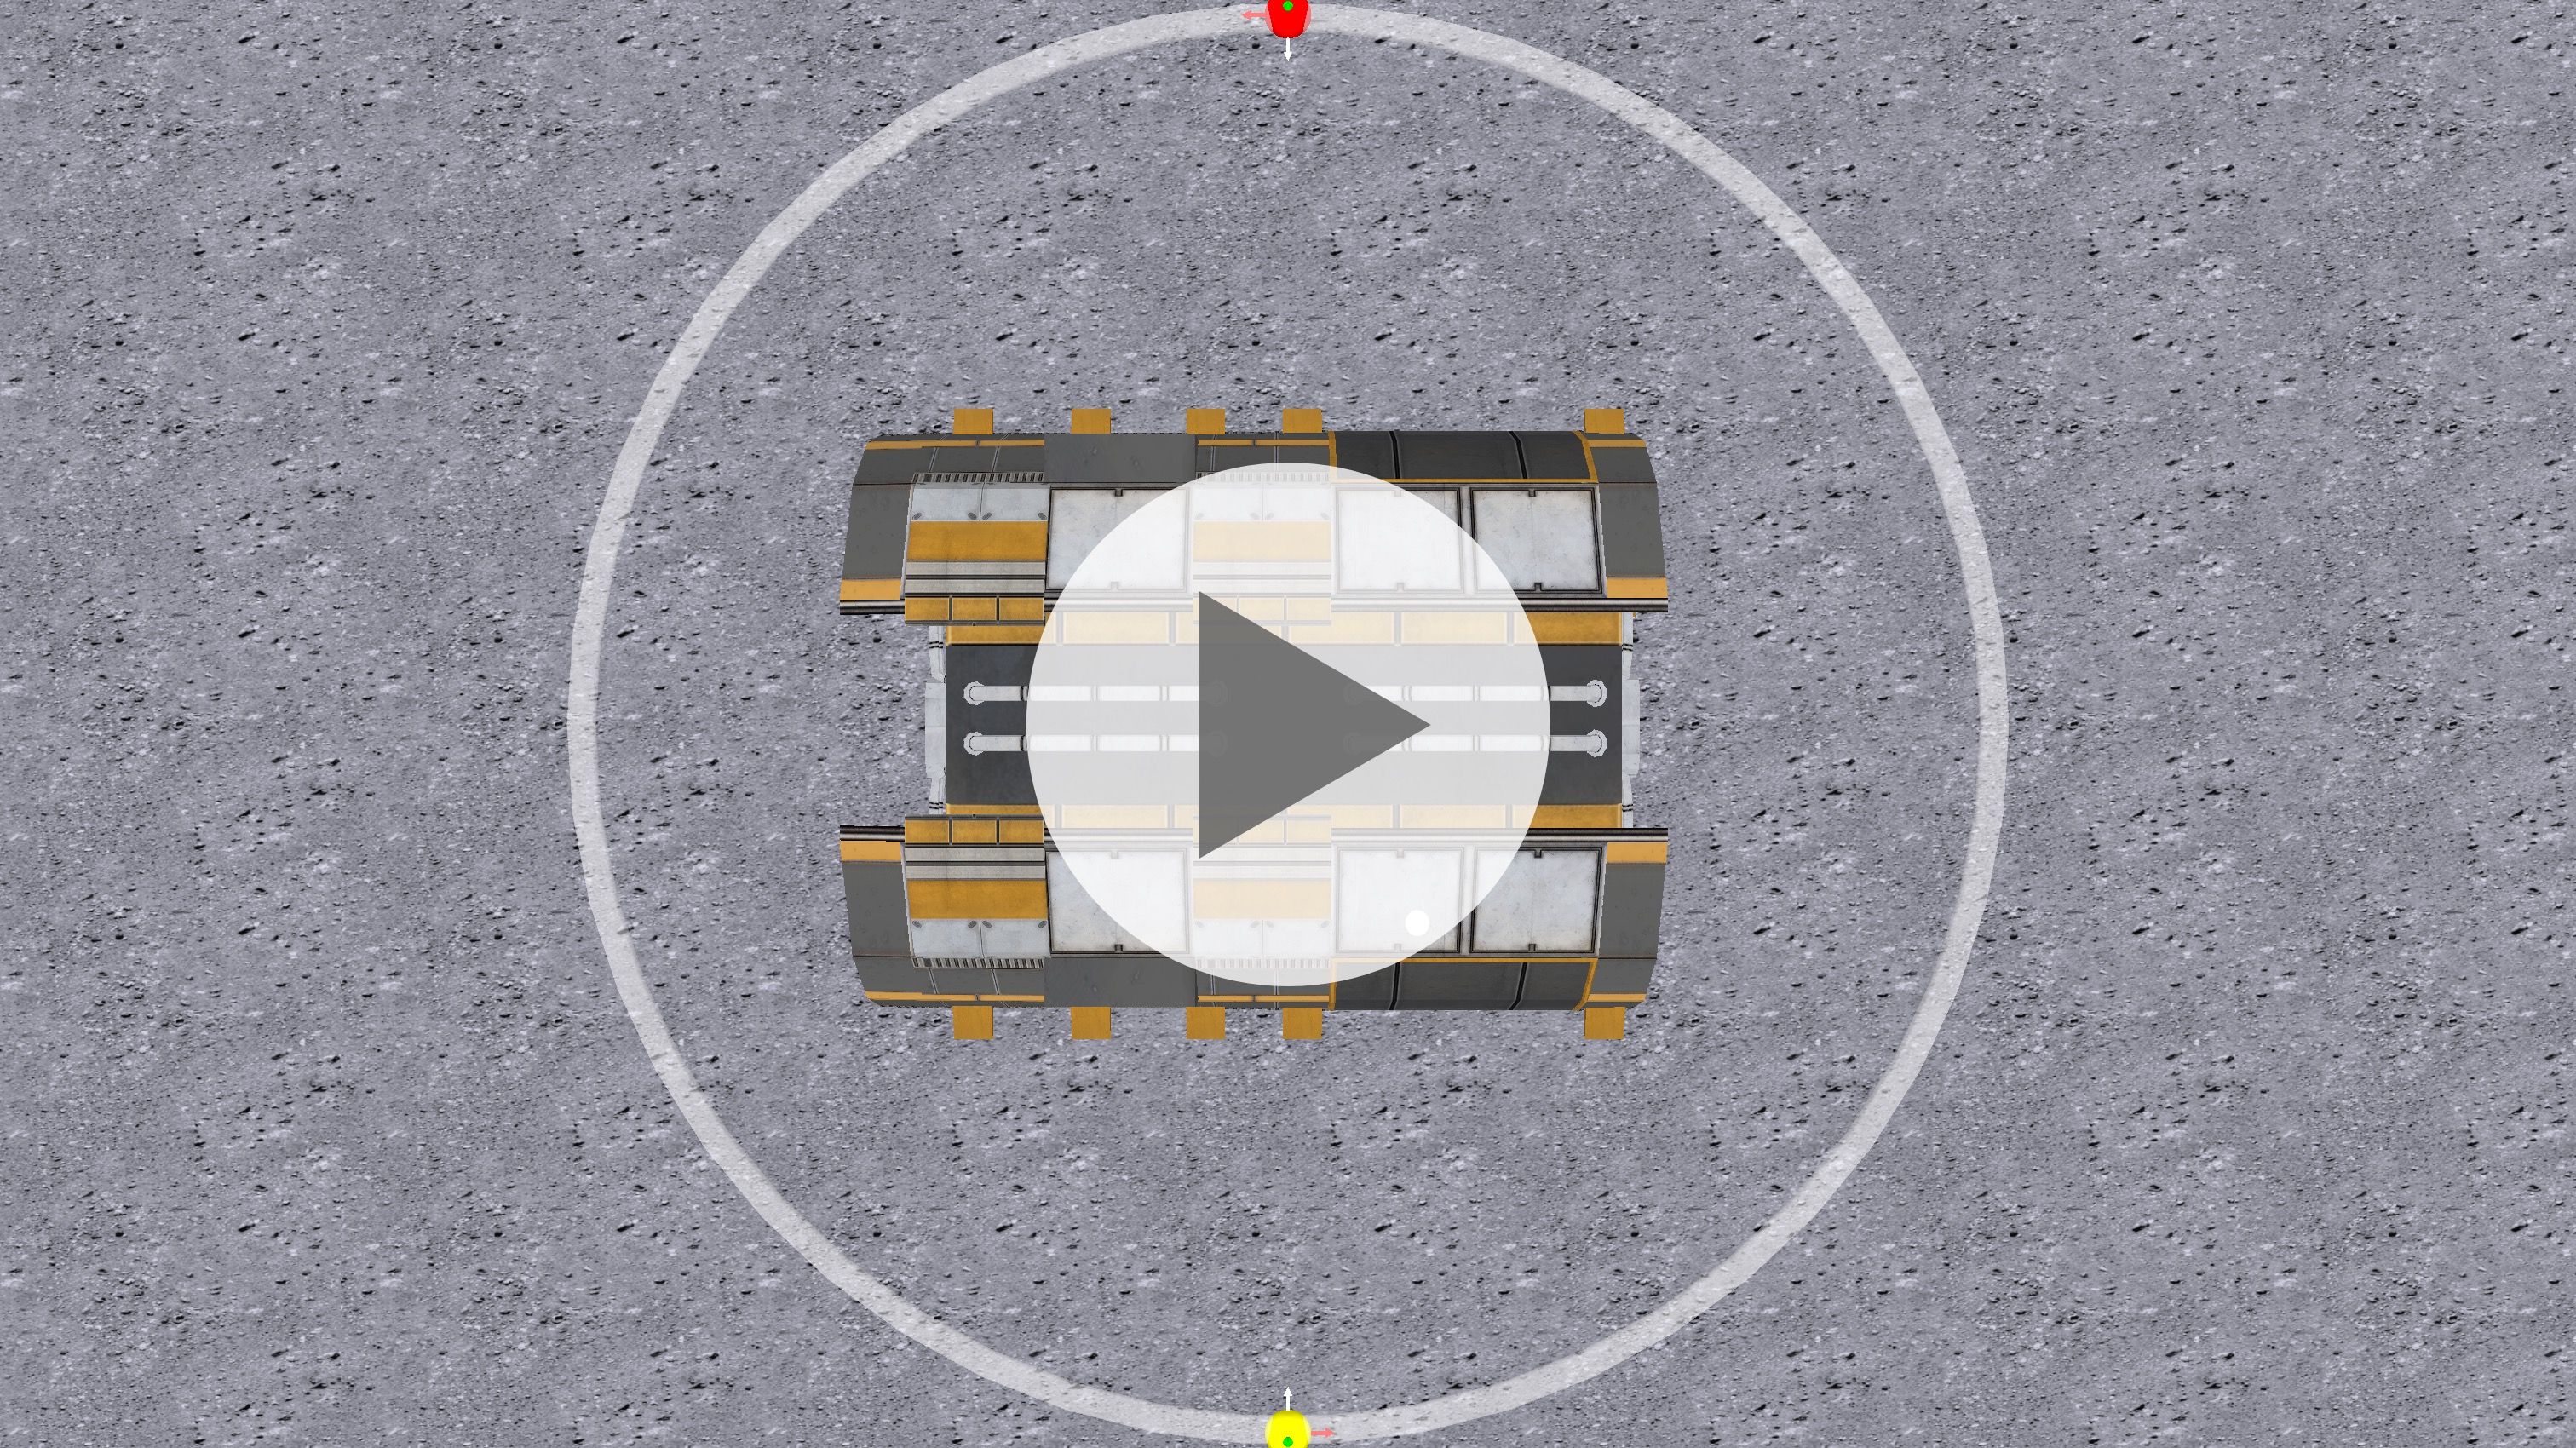
Your goal is to get the yellow sphere to follow the path of the torus, so that it ends up in the same position as the red sphere, like this:
Carefully consider how the sphere will need to change it's position and orientation.
When you complete this execise, immediately make a post on Notion.
- Carefully explain how and why the code you wrote works.
- In particular, identify problems you encountered while completing the exercise, and how you resolved them.
Exercise 2
Now apply the same concepts to create this camera pan movement within the same scene:
You can use the camera marker named startingCameraView to get the camera in the correct position to begin.
Share your progress and results on Notion.
Exercise 3
Finally, either:
- create a brand new Alice world
- modify one of your existing worlds
... and create a camera movement like you did in exercise 2.
To do so, you will need to carefully arrange objects in the scene, likely making good use of one-shot procedures.
And again, please share your progress and results on Notion.
