Moving Object Sub-Joints
Overview
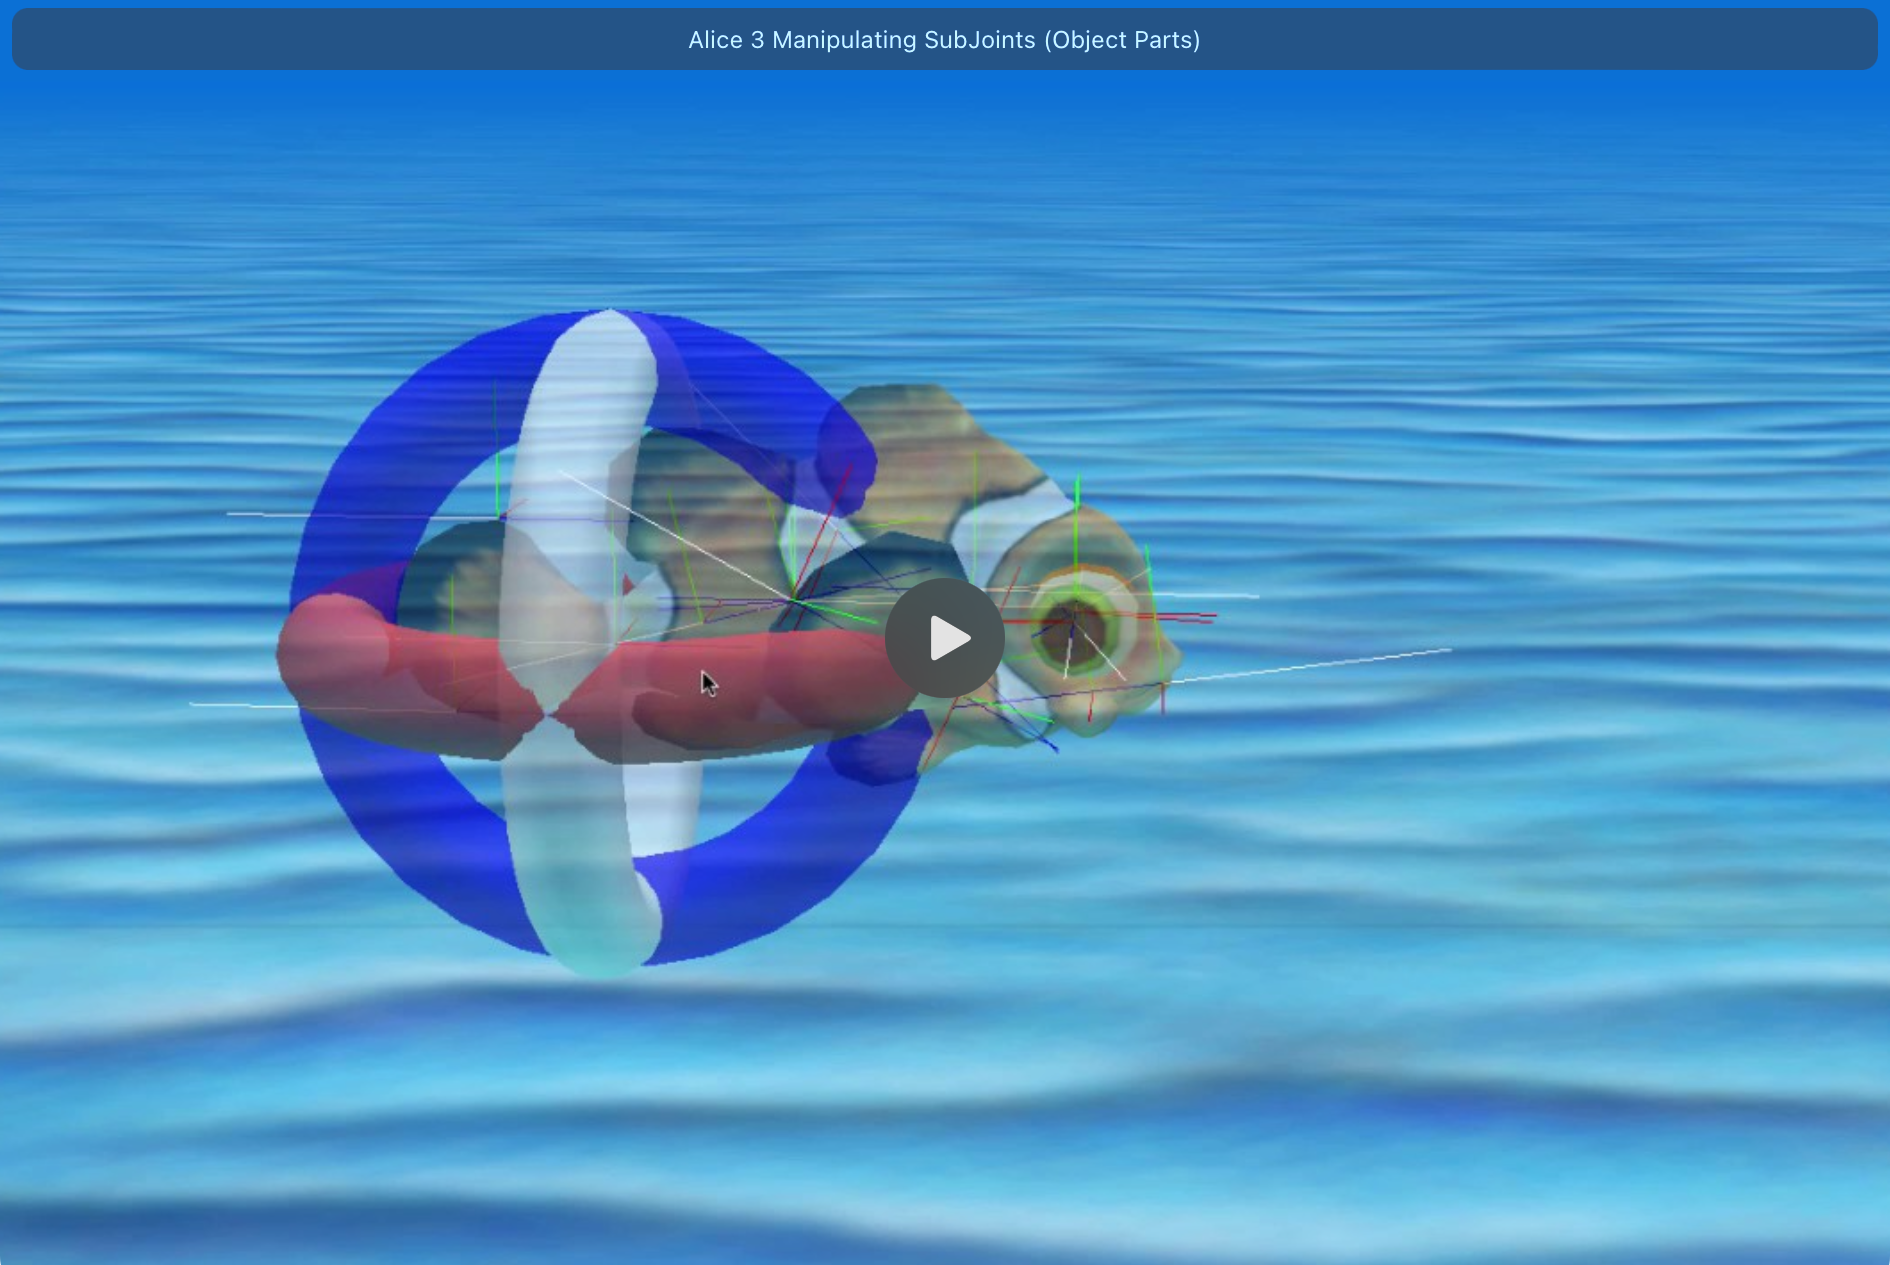
With your partner, please watch the following video made by the team that created Alice, which is a good introduction to how sub-joints work within both the scene editor and code editor of Alice:
Exercise 1
In an earlier tutorial, you learned how to use the do-together control structure.
You also saw several examples of how to repeat instructions using a loop.
Based on that earlier learning, and the introduction given in the video above, see if you can re-create the following animation:
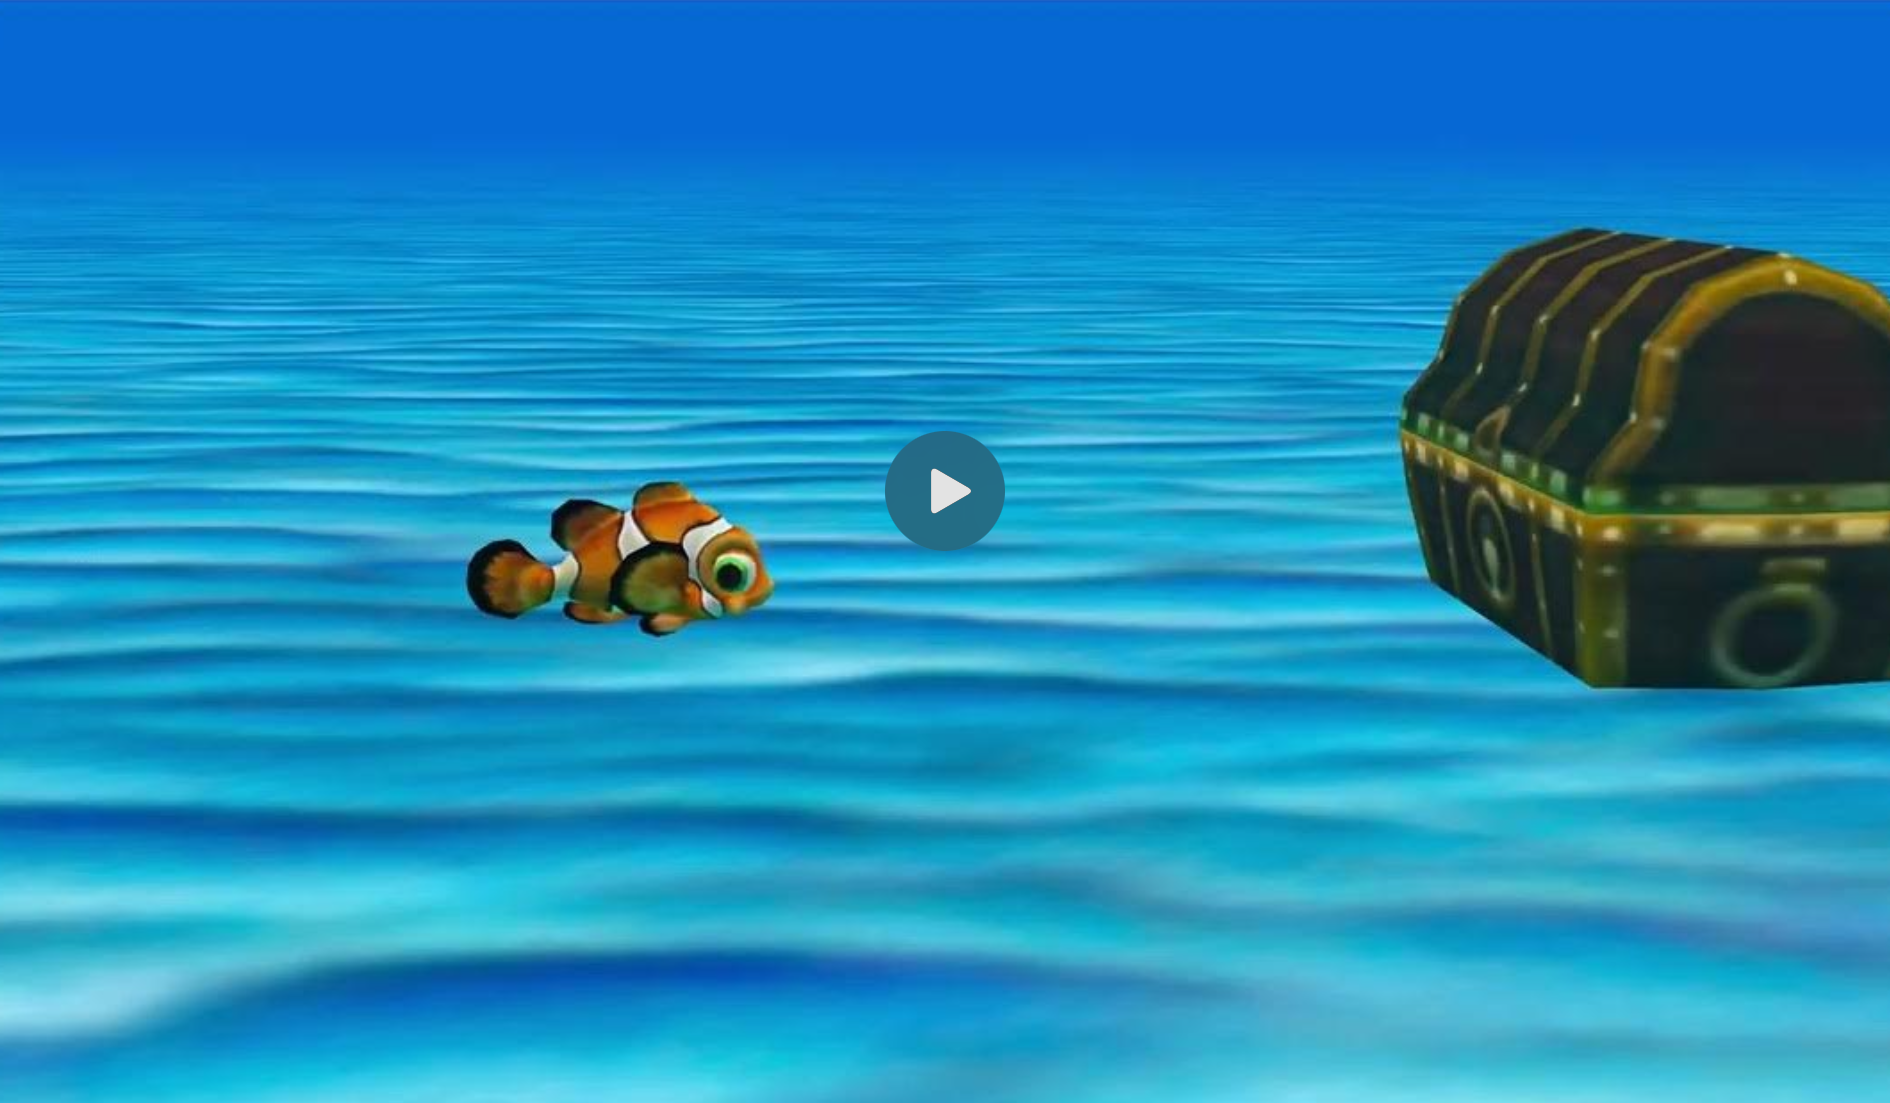
Consider:
- what sub-joints of the clownfish must move
- how the clownfish itself must move
- what actions occur at the same time
- how long individual actions should take
Tips for Moving Sub-Joints
When we manipulate sub-joints, we are changing their orientation.
As we learned in an earlier tutorial, there are three ways to change the orientation of an object or an object sub-joint:
- Turning right/left (rotation around green axis)
- Turning forward/backward (rotation around red axis)
- Rolling right/left (rotation around blue axis)
Say that we want to make a person use the lower portion of their leg, as if they were to kick a ball:
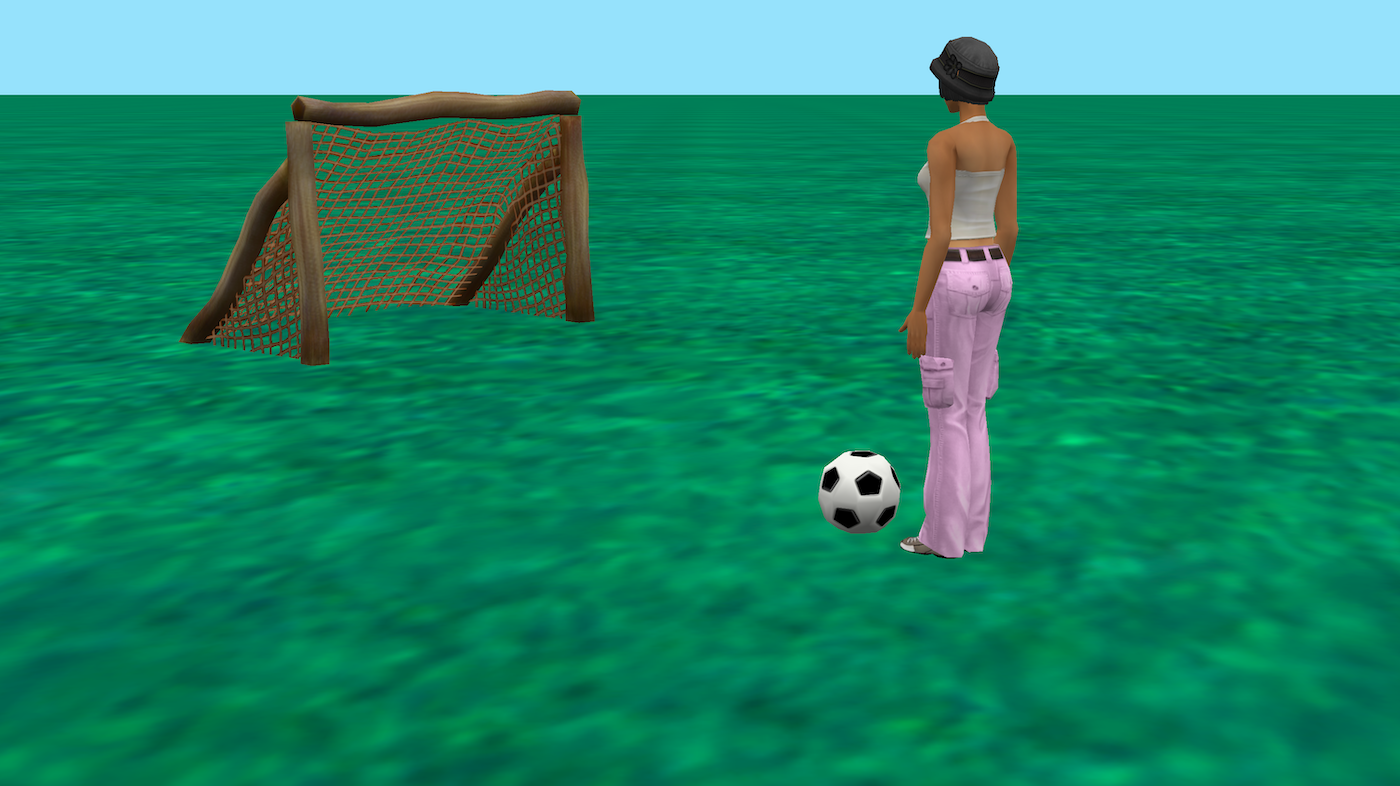
How do we know what sub-joint to use? How do we know whether to turn or roll? Which direction?
Here are some steps to help you figure this out:
- Drop a camera marker to be able to get back to where you started
- Zoom in to the sub-joint
- Make the character semi-transparent
- Enable 'Show Joints'

- Select the sub-joint
- Select 'Rotation'
- Use the rings to move the sub-joint
- Take careful note of what axis the joint rotated around...
- Rotation around green axis?
- That's a turn right/left
- Rotation around red axis?
- That's a turn forward/backward
- Rotation around blue axis?
- That's a rolling right/left
- Rotation around green axis?
- Use the camera marker to get back to where you started
- Optionally, make the character opaque again and hide joints
- Edit the code
- Select the sub-joint
- Add the code based on what you figured out
Here's a short video illustrating the steps described above:

If that seems really time-consuming, know that you will get a feel for how sub-joints need to move pretty quickly, with a bit of practice.
Exercise 2
You may have noticed that the "kick" action above is not completely realistic yet.
The foot does not quite reach the ball because a kick of that nature also involves a slight movement of the hip.
Try (carefully) observing your partner doing a kicking motion.
Then, see if you can use a combination of do-together and do-in-order control structures to make the animation complete:
- foot meets ball
- ball goes into the net
Something along these lines:

Here is a starter world that you can use for this exercise.
There is a tile named straightenOutJoints that can automatically "put sub-joints back" to their starting positions. This is useful near the end of the animation shown above:

Exercise 3
Say that we want to program an instance of the Teen class doing a jumping jack.
Like the kicking motion above, this will involve several object sub-parts moving at the same time.
Have your partner do a few jumping jacks!
Take careful note of what parts of their body are moving.
Then, program a character in Alice to do several jumping jacks in a row.
Exercise 4
Mr. Gordon is painfully out of the loop when it comes to current dance moves.
However, he does gather that a "dab" and "flossing" are a bit out-of-date.
Nonetheless, given that there are many videos available demonstrating these dance moves, they are a good choice for practicing with moving object sub-joints.
Work with your partner to first make a plan for, and then program, a dab, a floss, or any other recognizable dance move.
If you can find additional videos of these dance moves being demonstrated, they might be useful for figuring out the individual movements that occur. Consider pausing the video or watching it at a slower speed – something less than 1x.