Getting Started with Alice
Introduction
Alice allows you to tell stories and write interactive games in 3D using some programming concepts that you already know and some that you will learn.

Here is a short example of what Alice can do.
Getting the Installer
The Alice installer is 1.44 GB in size.
If we all try to download it at the same time, it will take too long.
Instead, you can get the software from the external storage devices that are being passed around.
To get the installer:
- Plug in the external storage device.
- Drag and drop the installer to your Desktop.
- Eject the external storage device.
Here's what that looks like:

Once you have the installer file, continue to the next section of this page.
If you are reading this outside of class time, you can download the Alice installer here.
Installing Alice
To begin installing Alice, first double-click the .dmg file:
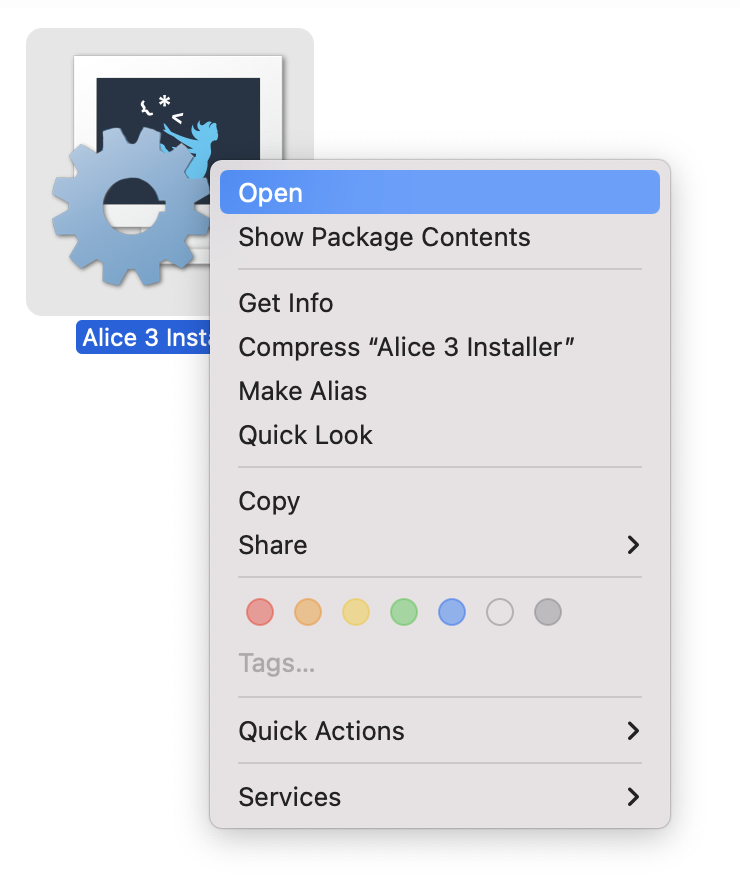
Then two-finger tap the installer file, and select Open.
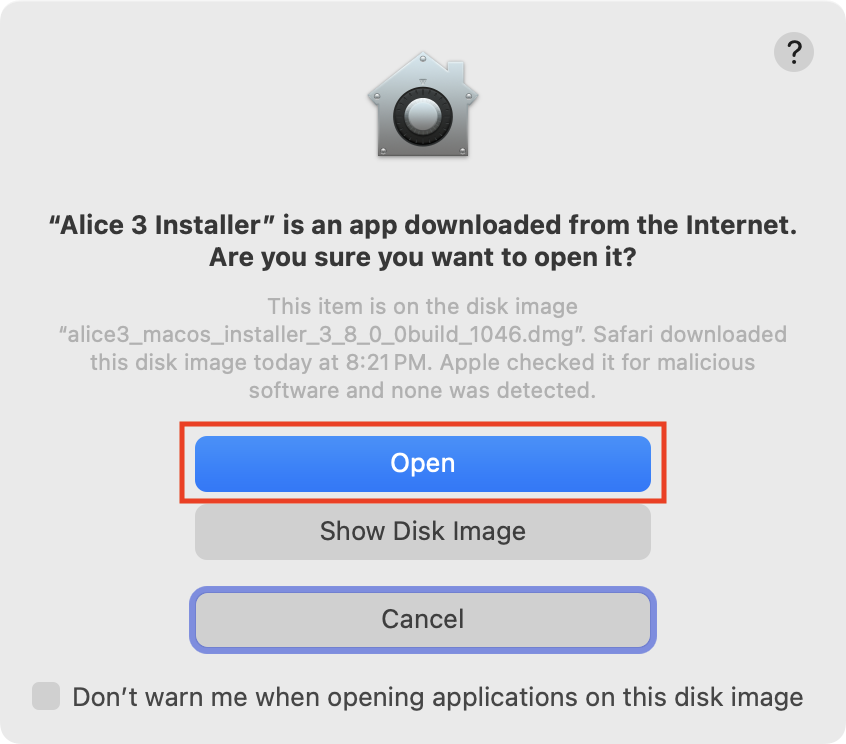
You will see this warning – you can trust the Alice organization, so select the Open button:
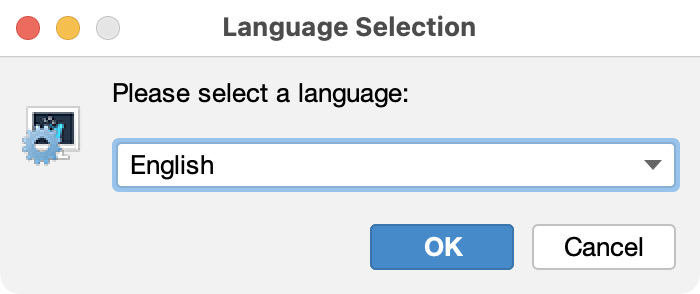
Select English for the language of the Alice interface, then select OK:
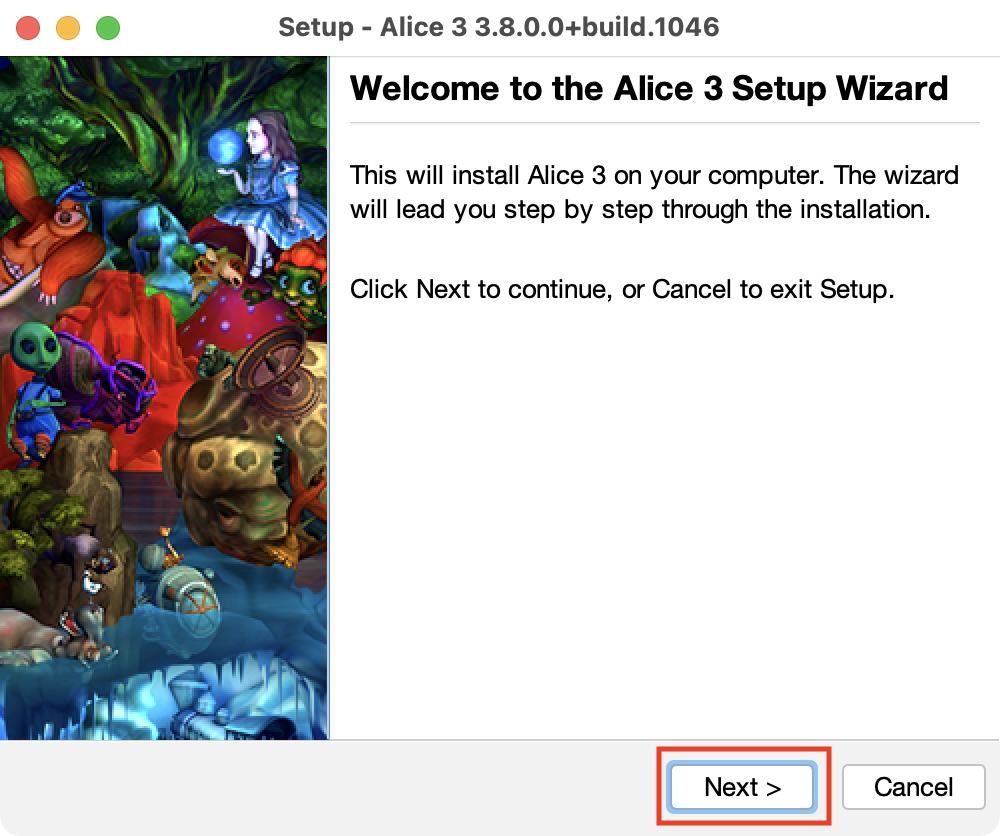
This prompt will appear – select Next:
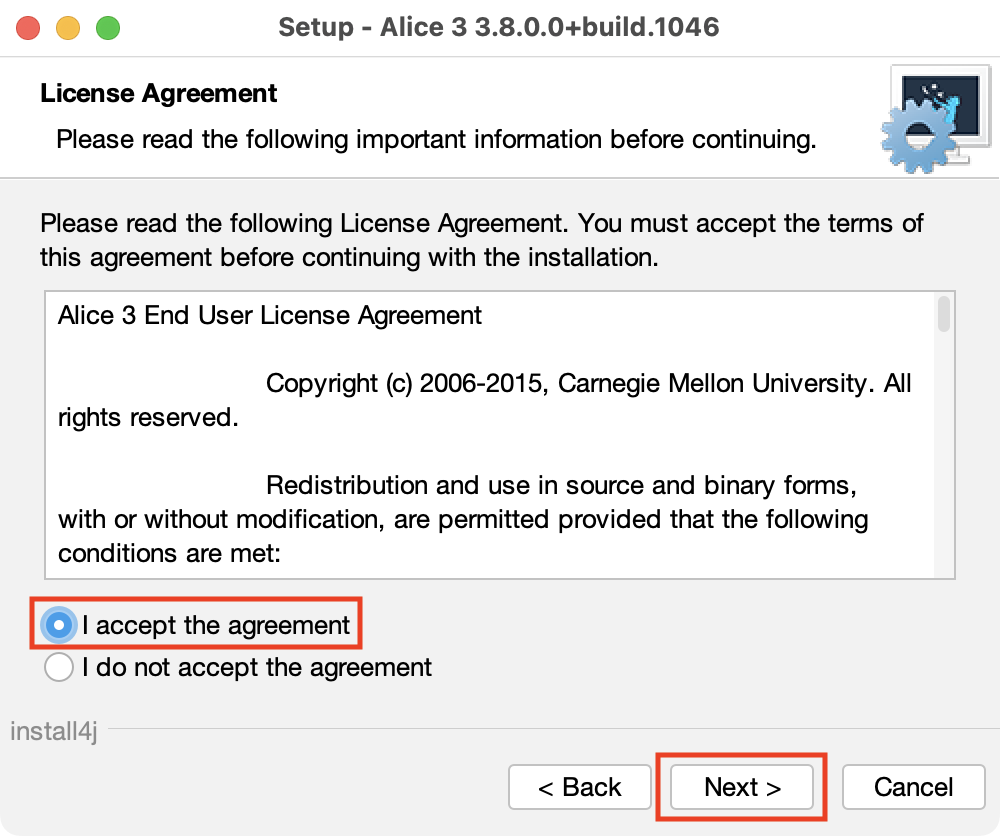
On the next screen, first accept the license agreement then select Next:
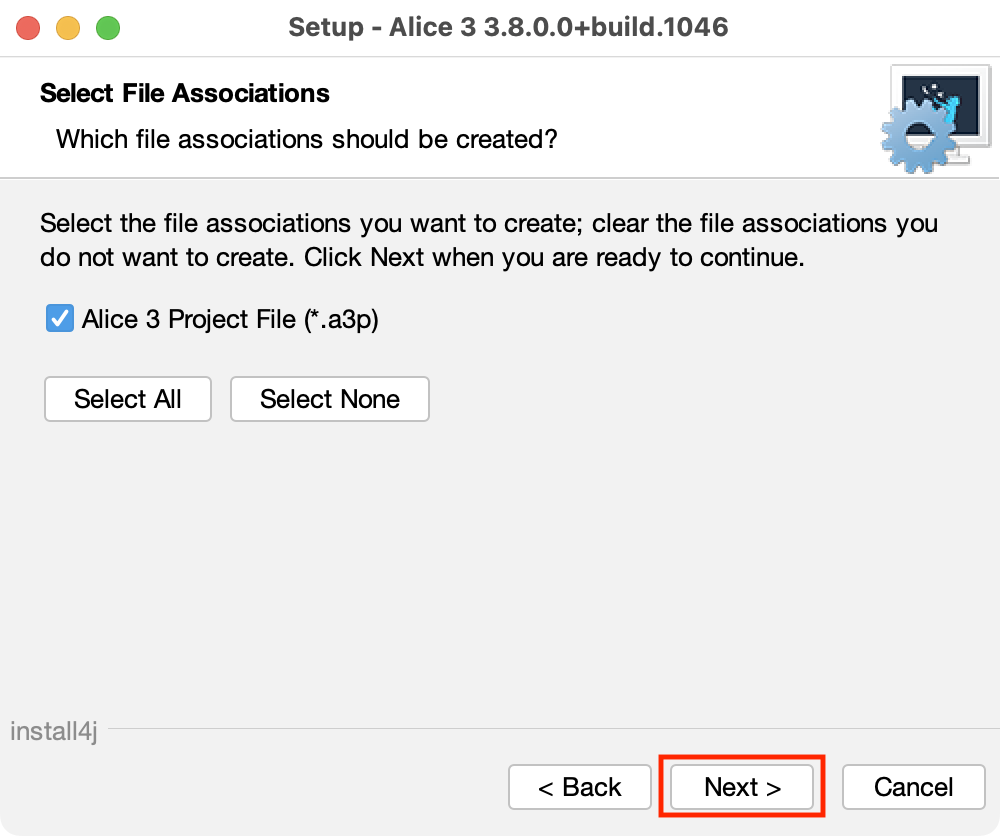
Next, you may be prompted to select file associations, so that when you double-click an Alice project file – whose file extension is a3p – the Alice program will opened.
The default options are good on this screen, if you see it. So, please don't change anything, then select Next:
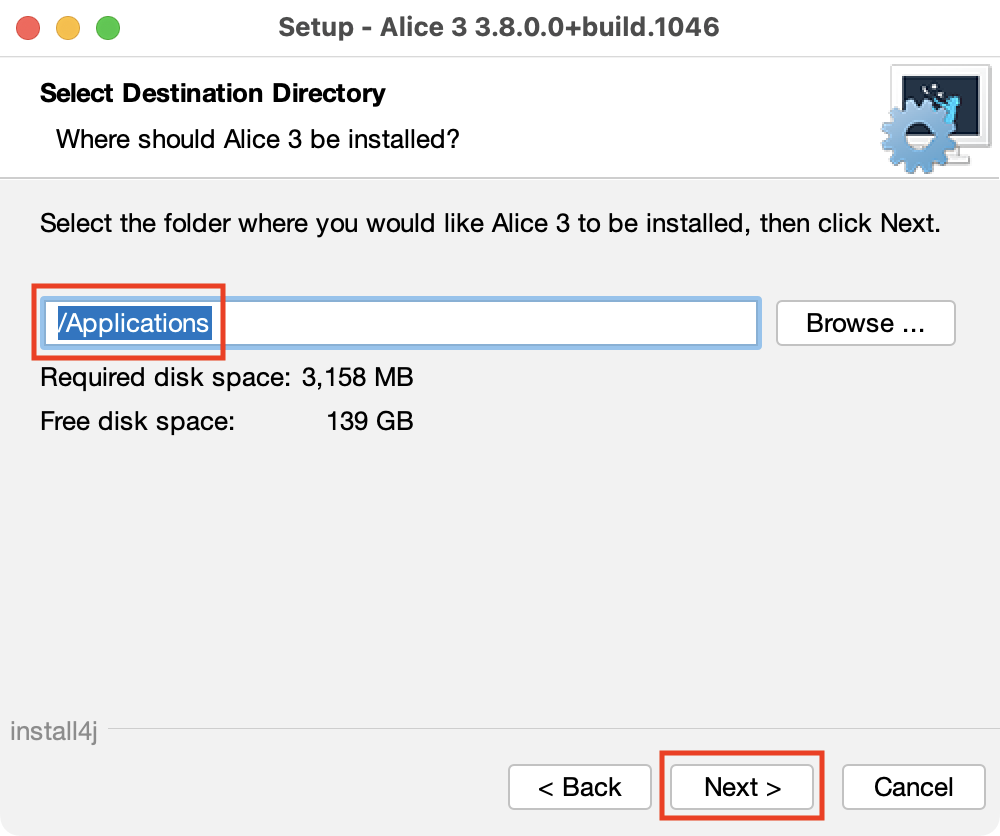
For the installation folder, leave the default option, then select Next:
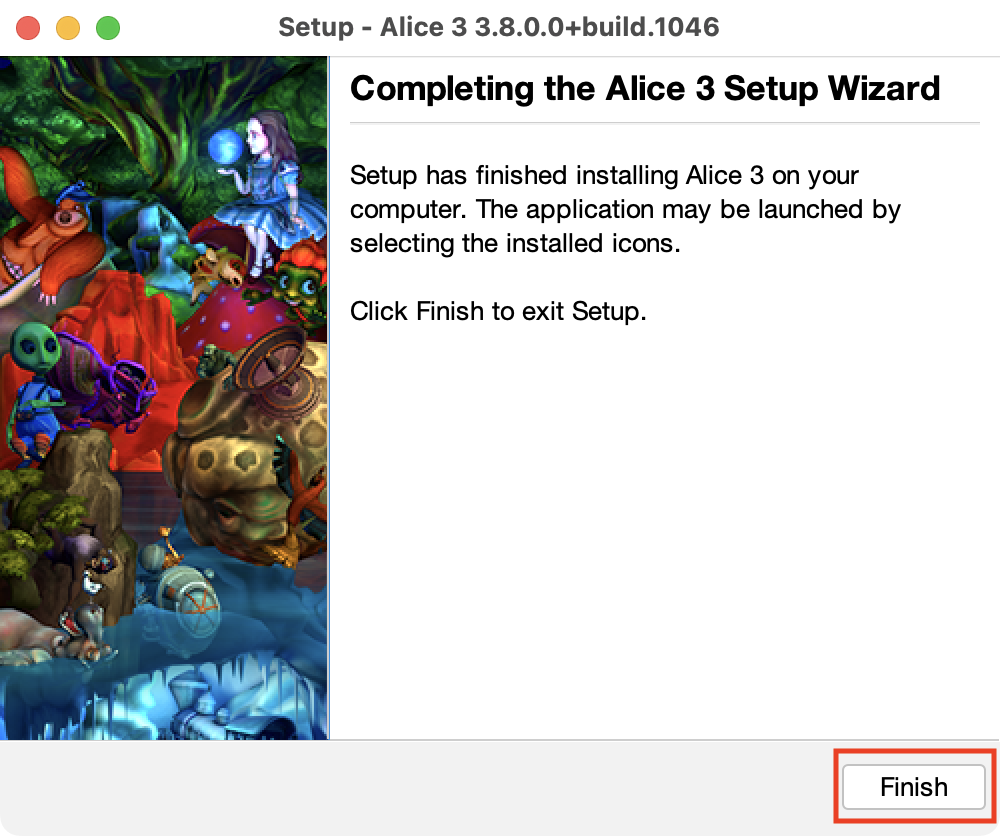
After a minute or so, the installer should be finished, and you will see this screen – select Finish:
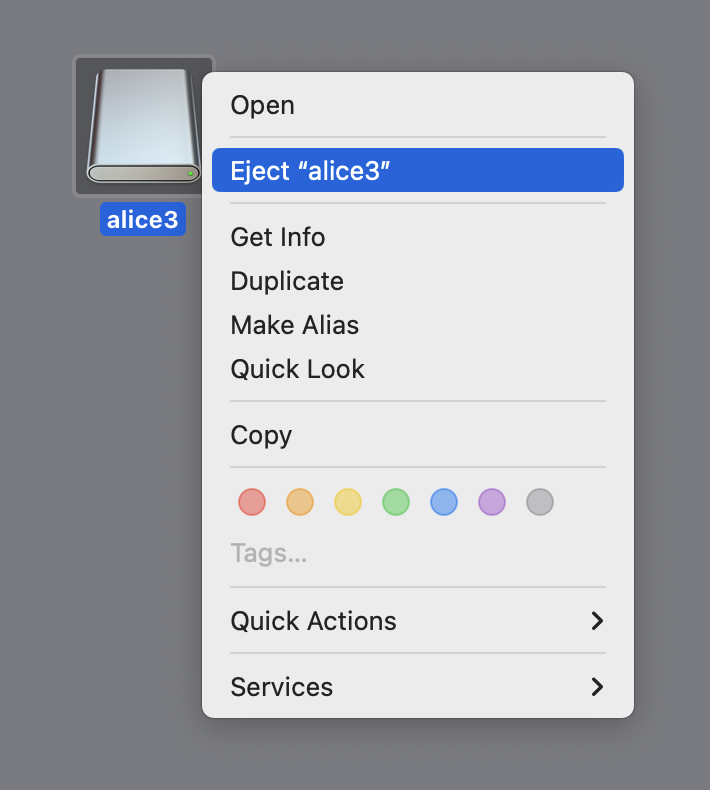
Now that Alice has been installed, you can eject the installer disk image:
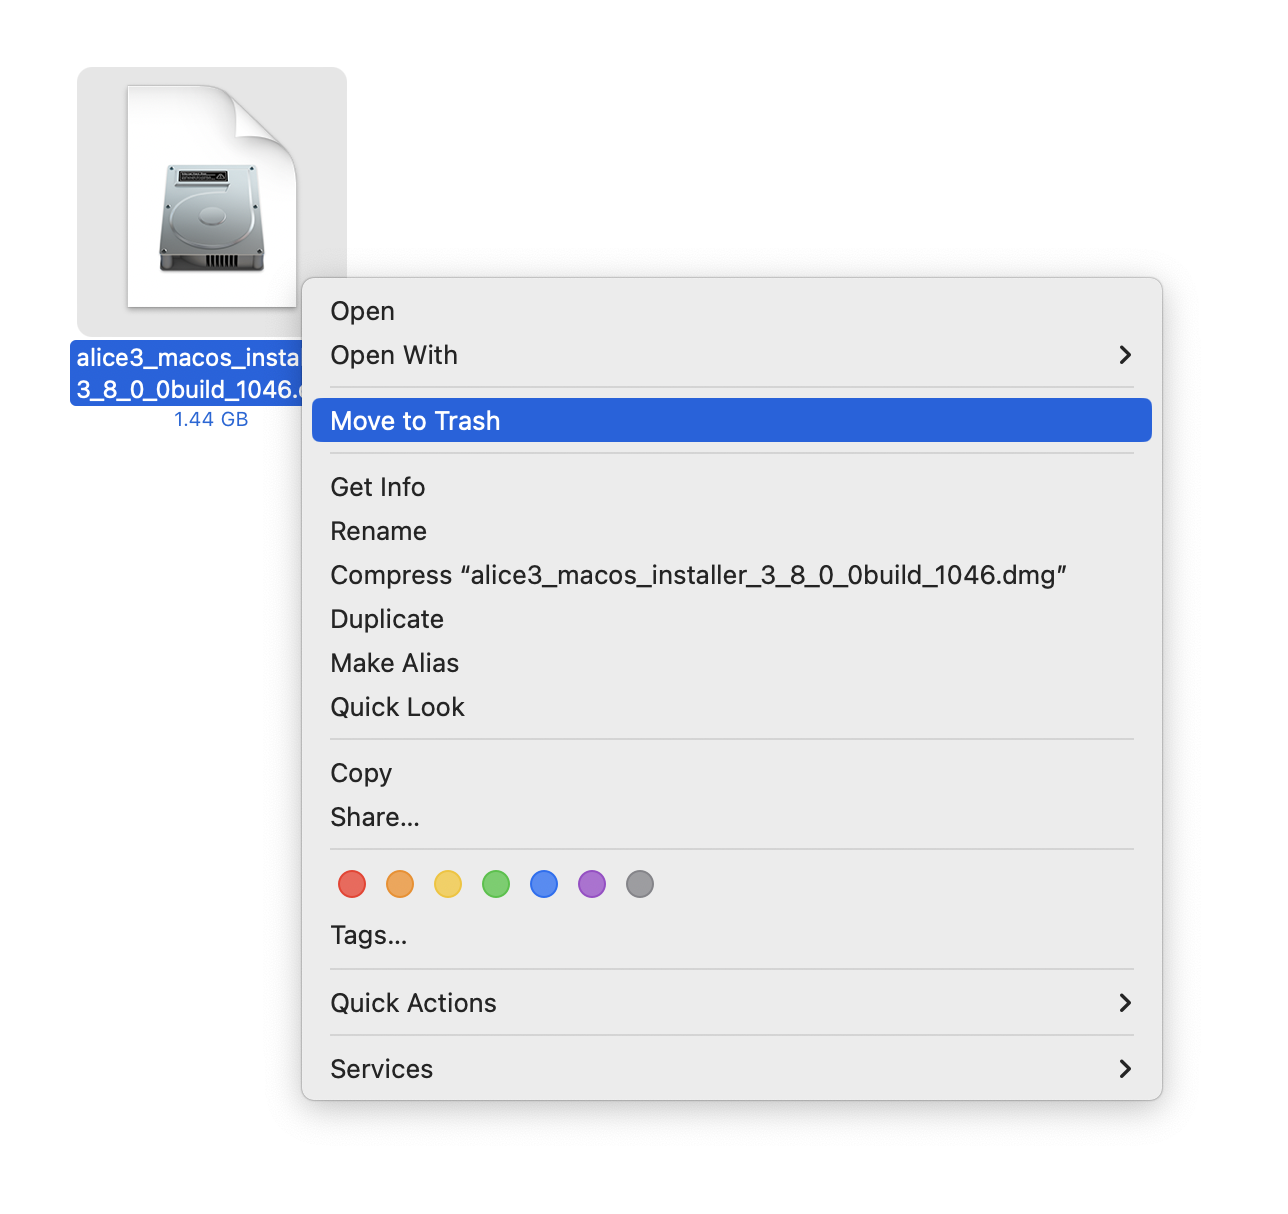
Then you can delete the installer file:
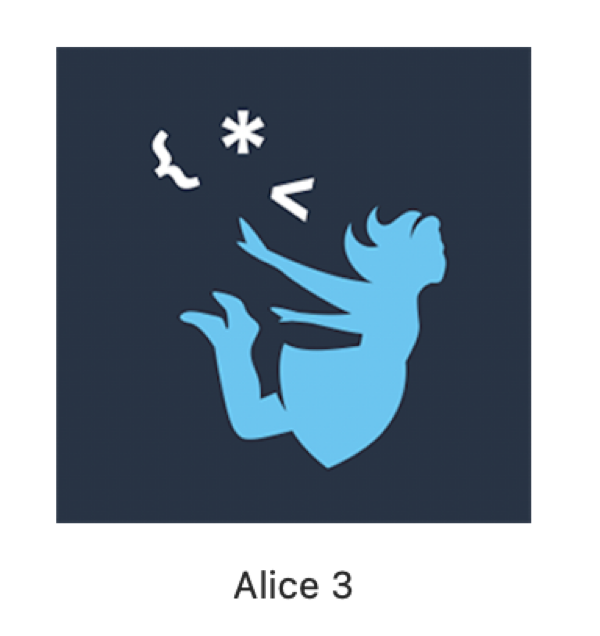
And then you can launch Alice by double-clicking this icon in your Applications folder:
Running Alice for the First Time
When you run Alice for the first time, and the first time only, there are a few more steps to take and licenses to agree to.
You may be prompted to allow Alice 3 to access files managed by iCloud Drive, if you use this service – please select Allow:

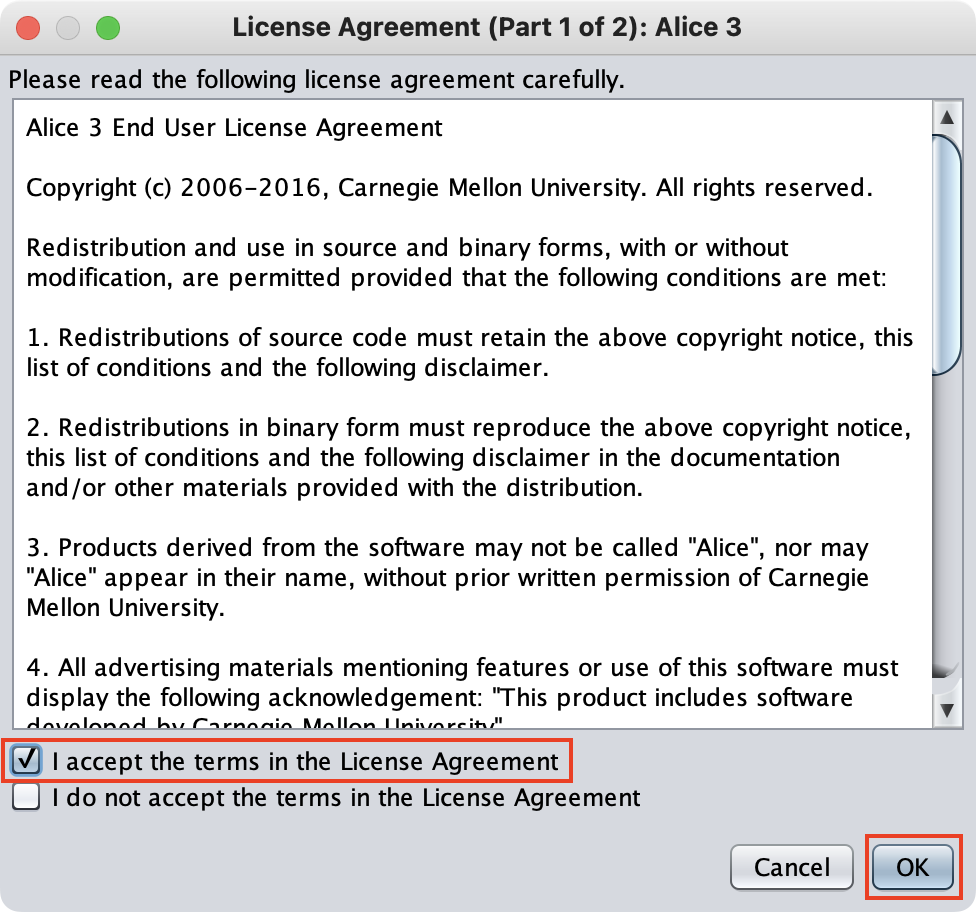
You may also be prompted to accept the license for Alice 3 itself:
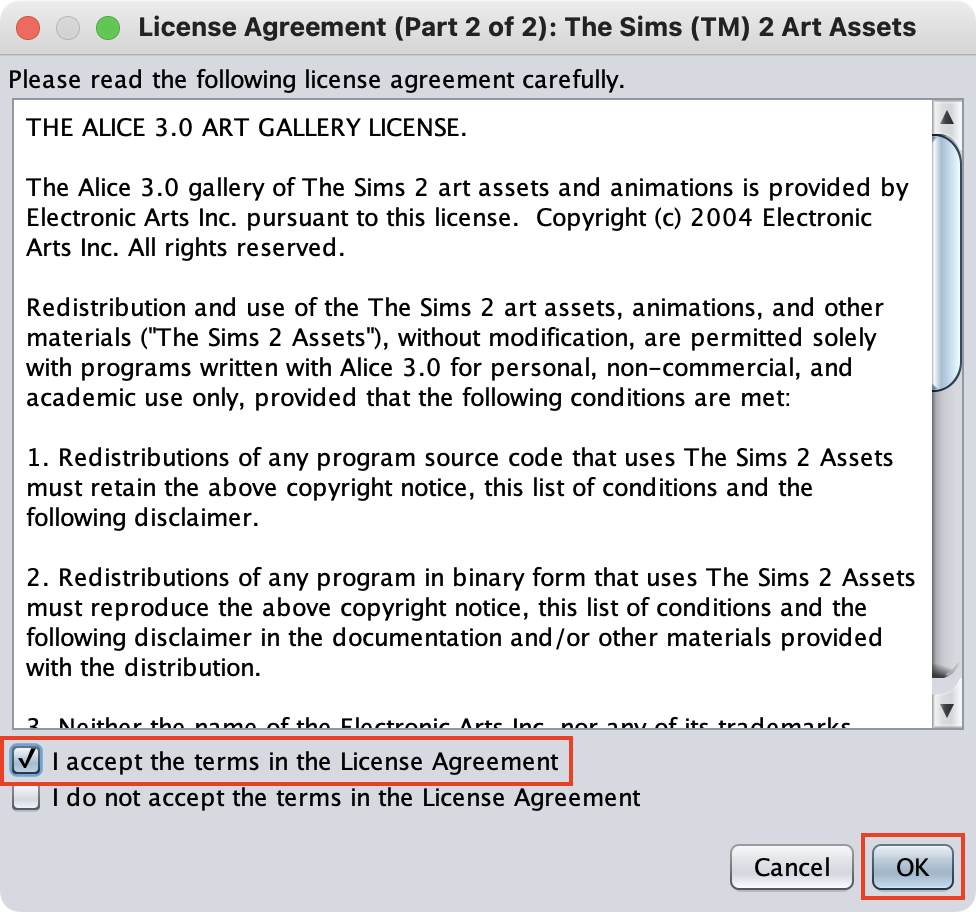
Additionally you may need to accept the next license, which is for the characters from the Sims that can be used in Alice:
When the software opens, you will see this interface:
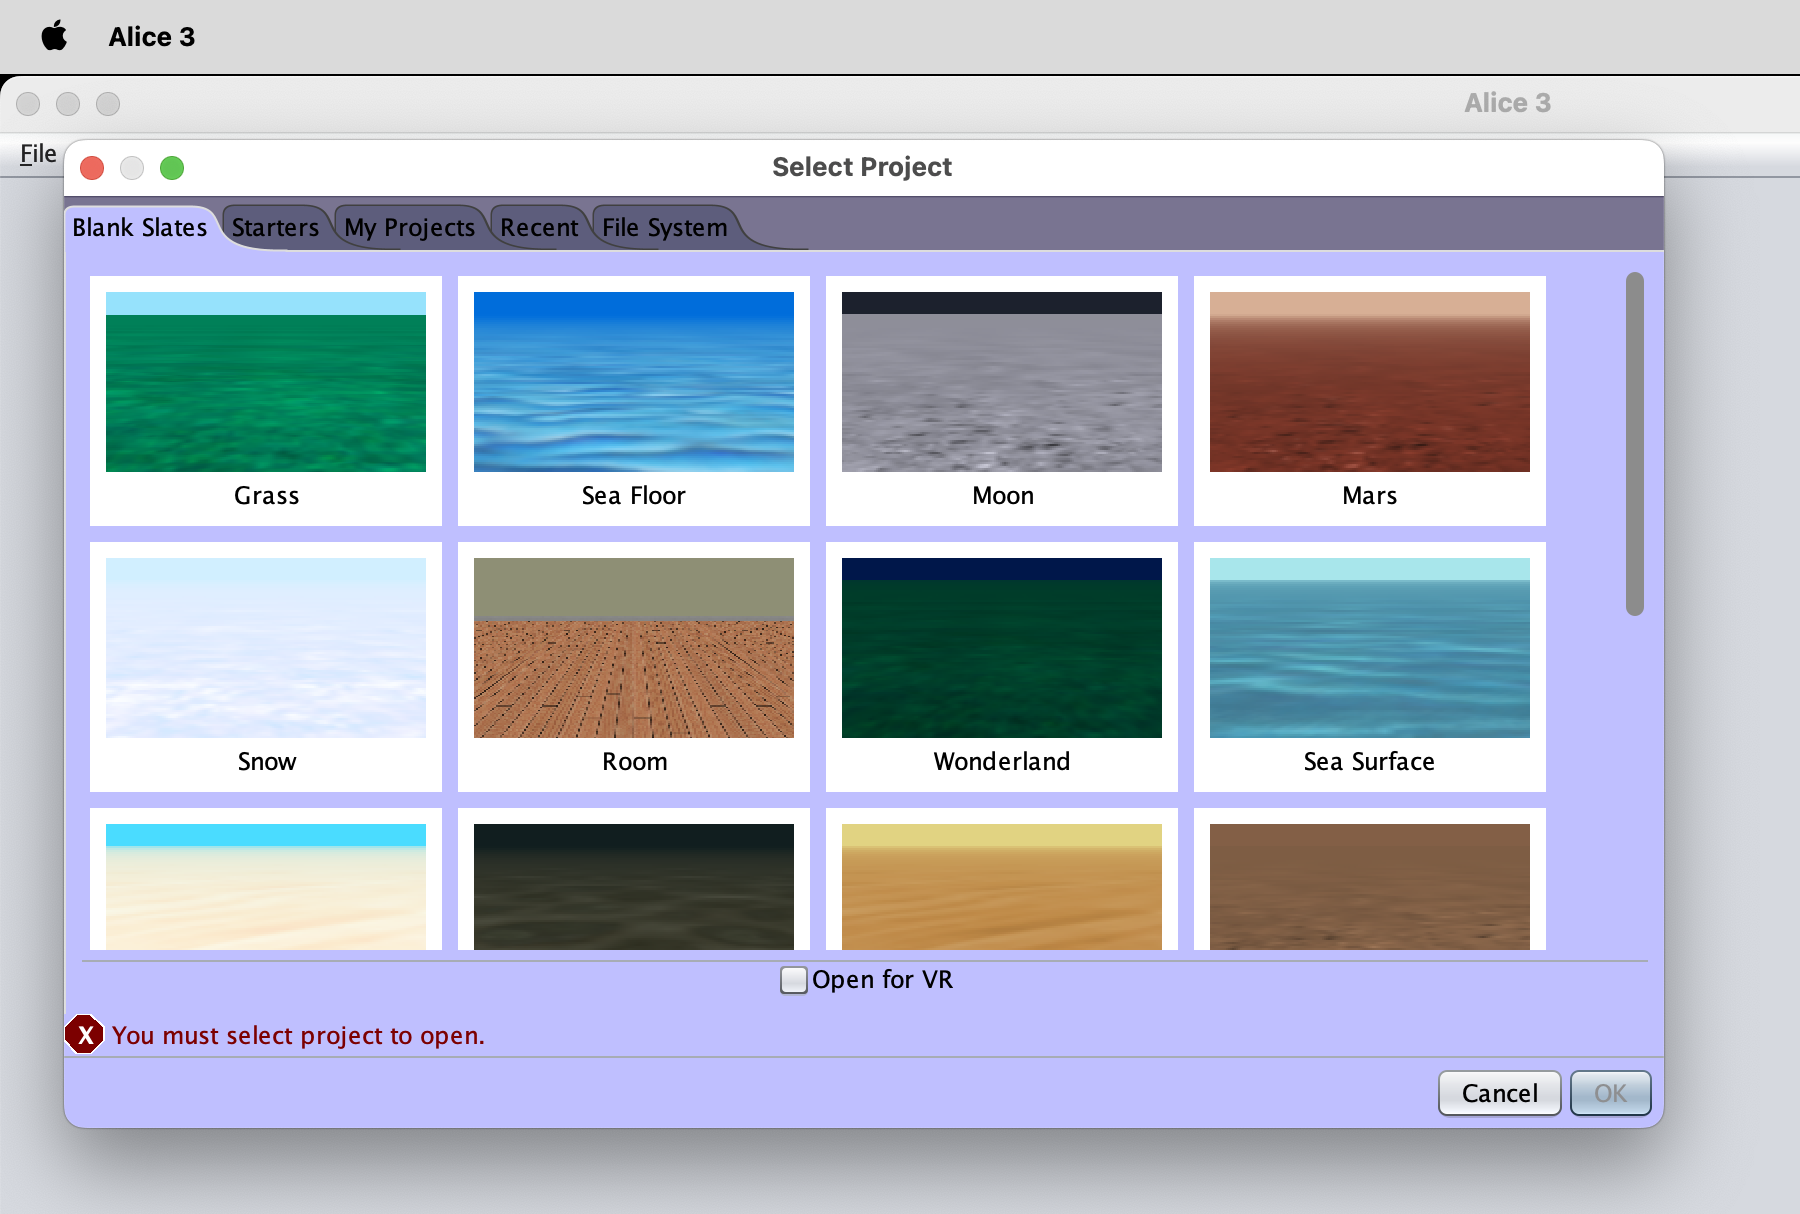
Select an environment to start with – such as Grass, Sea Floor, Moon, et cetera – then press OK.
The Alice Interface
Alice consists of two main interfaces.
First is the code editor:

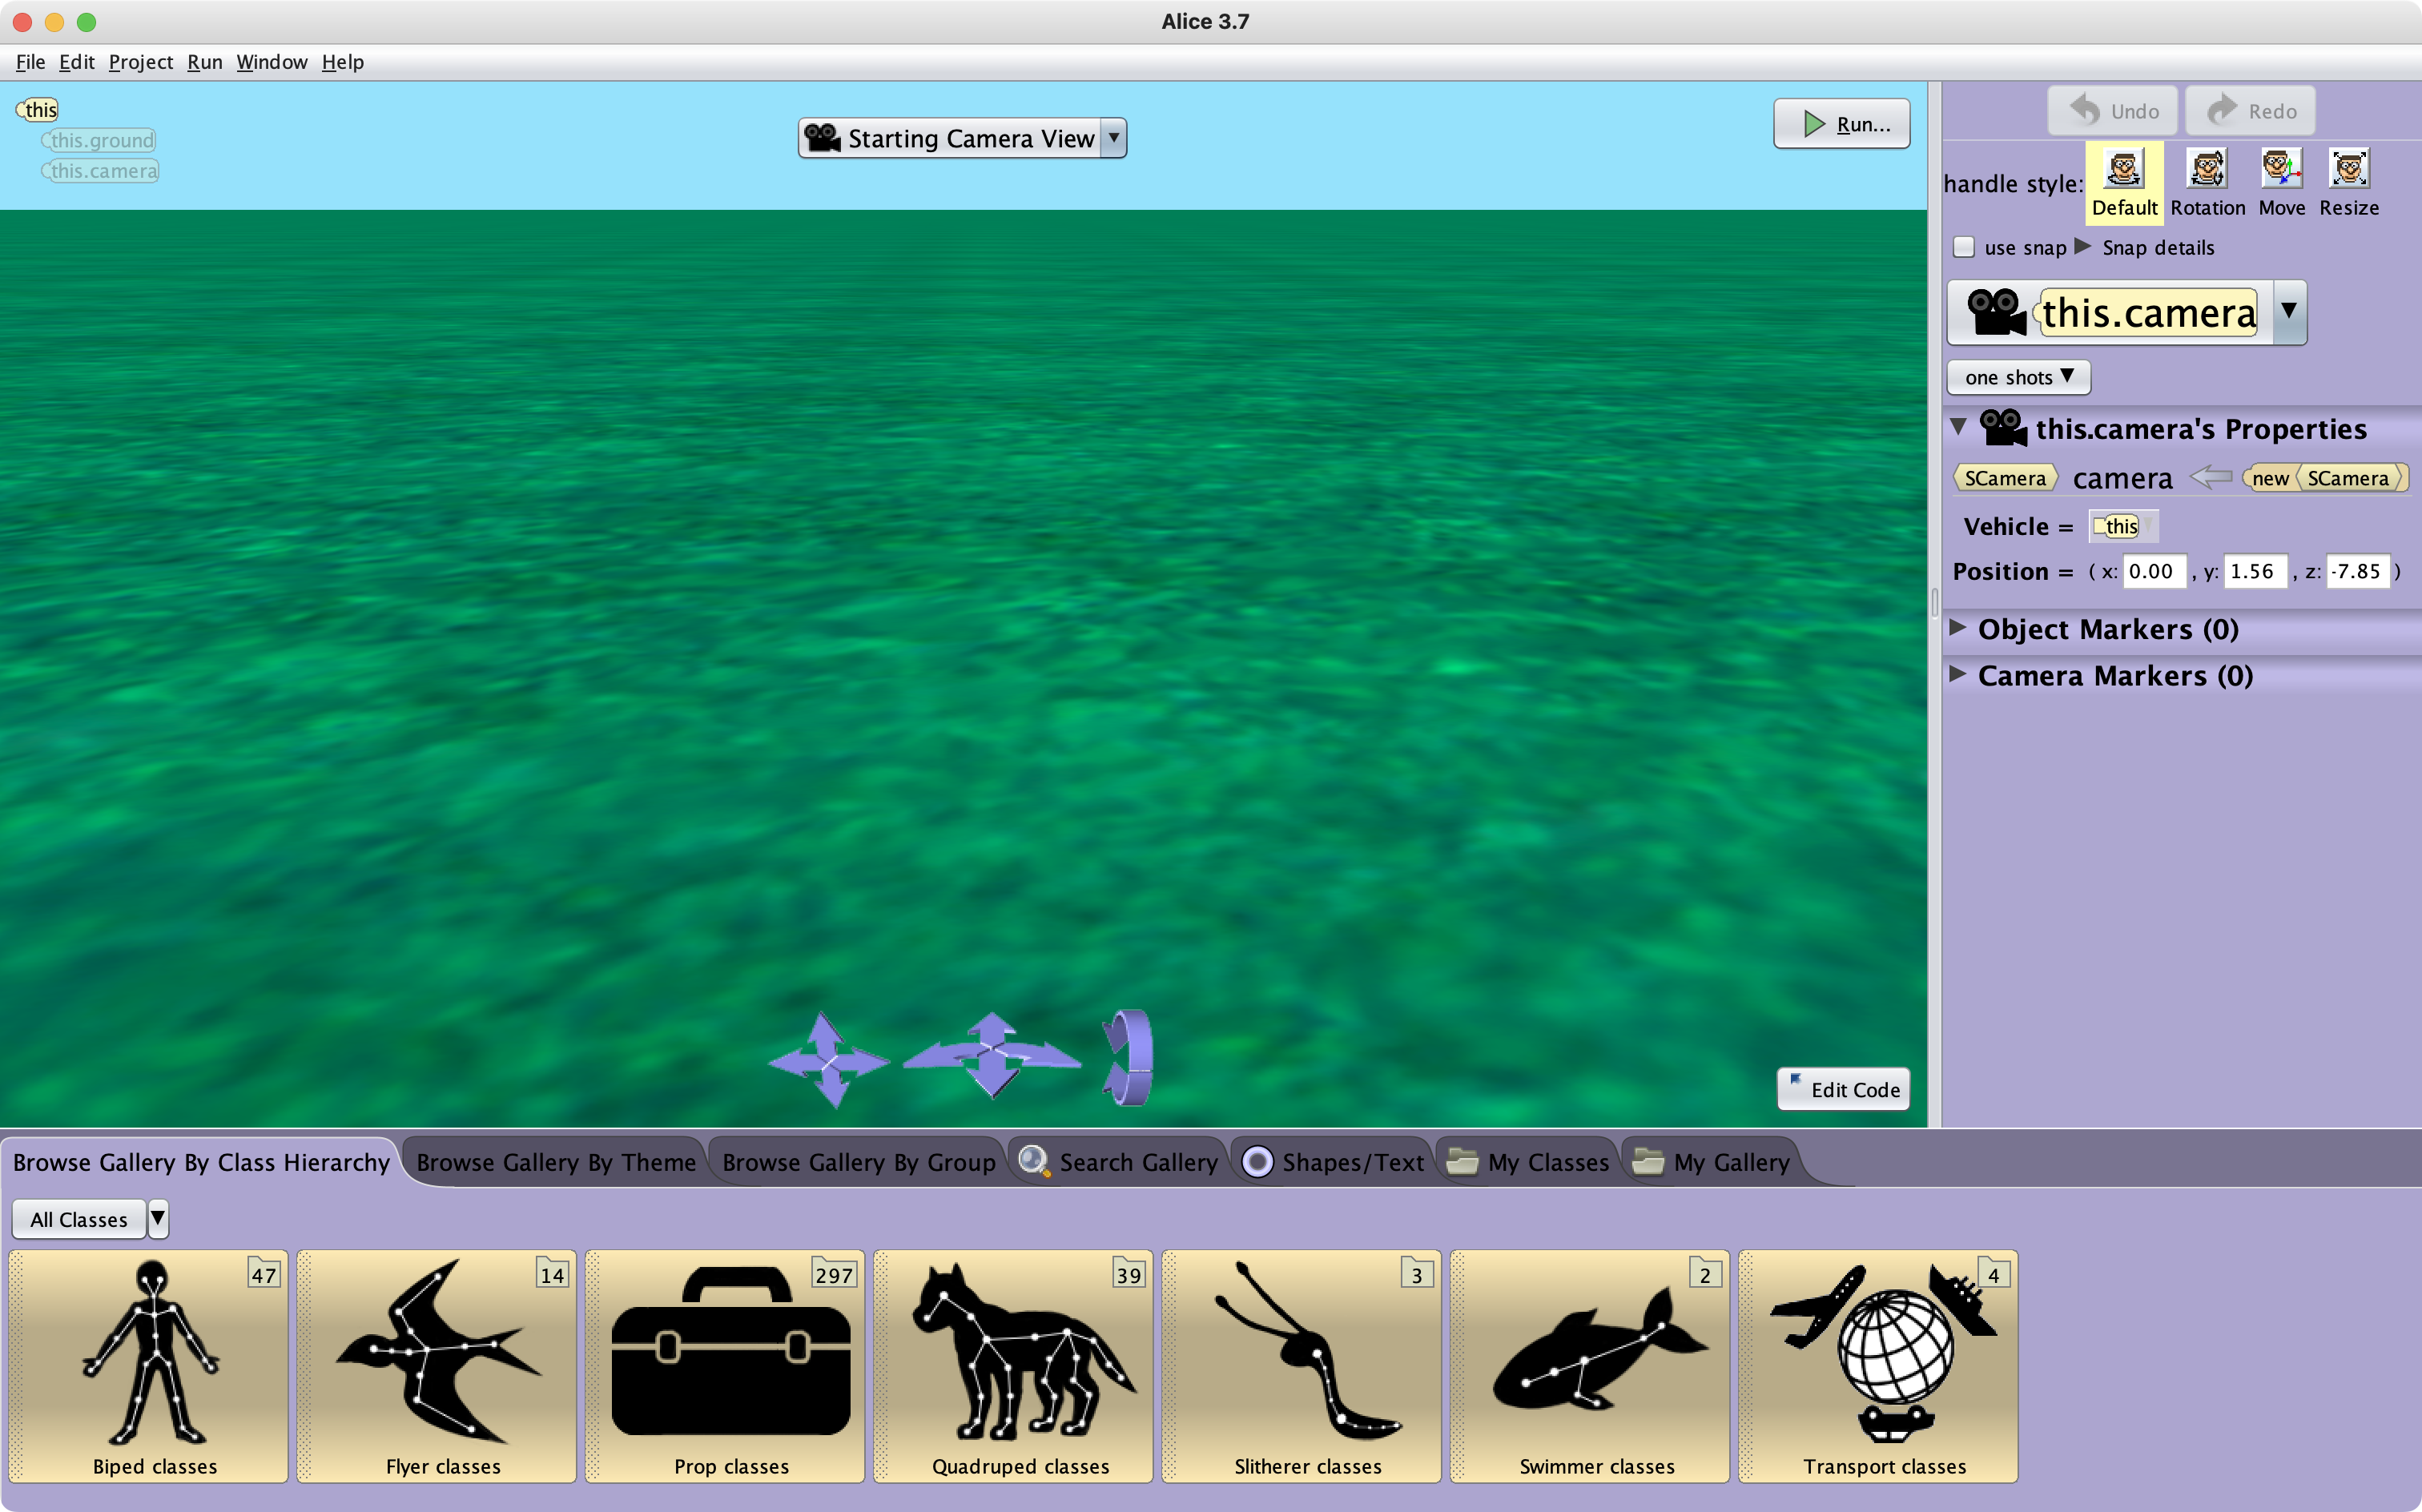
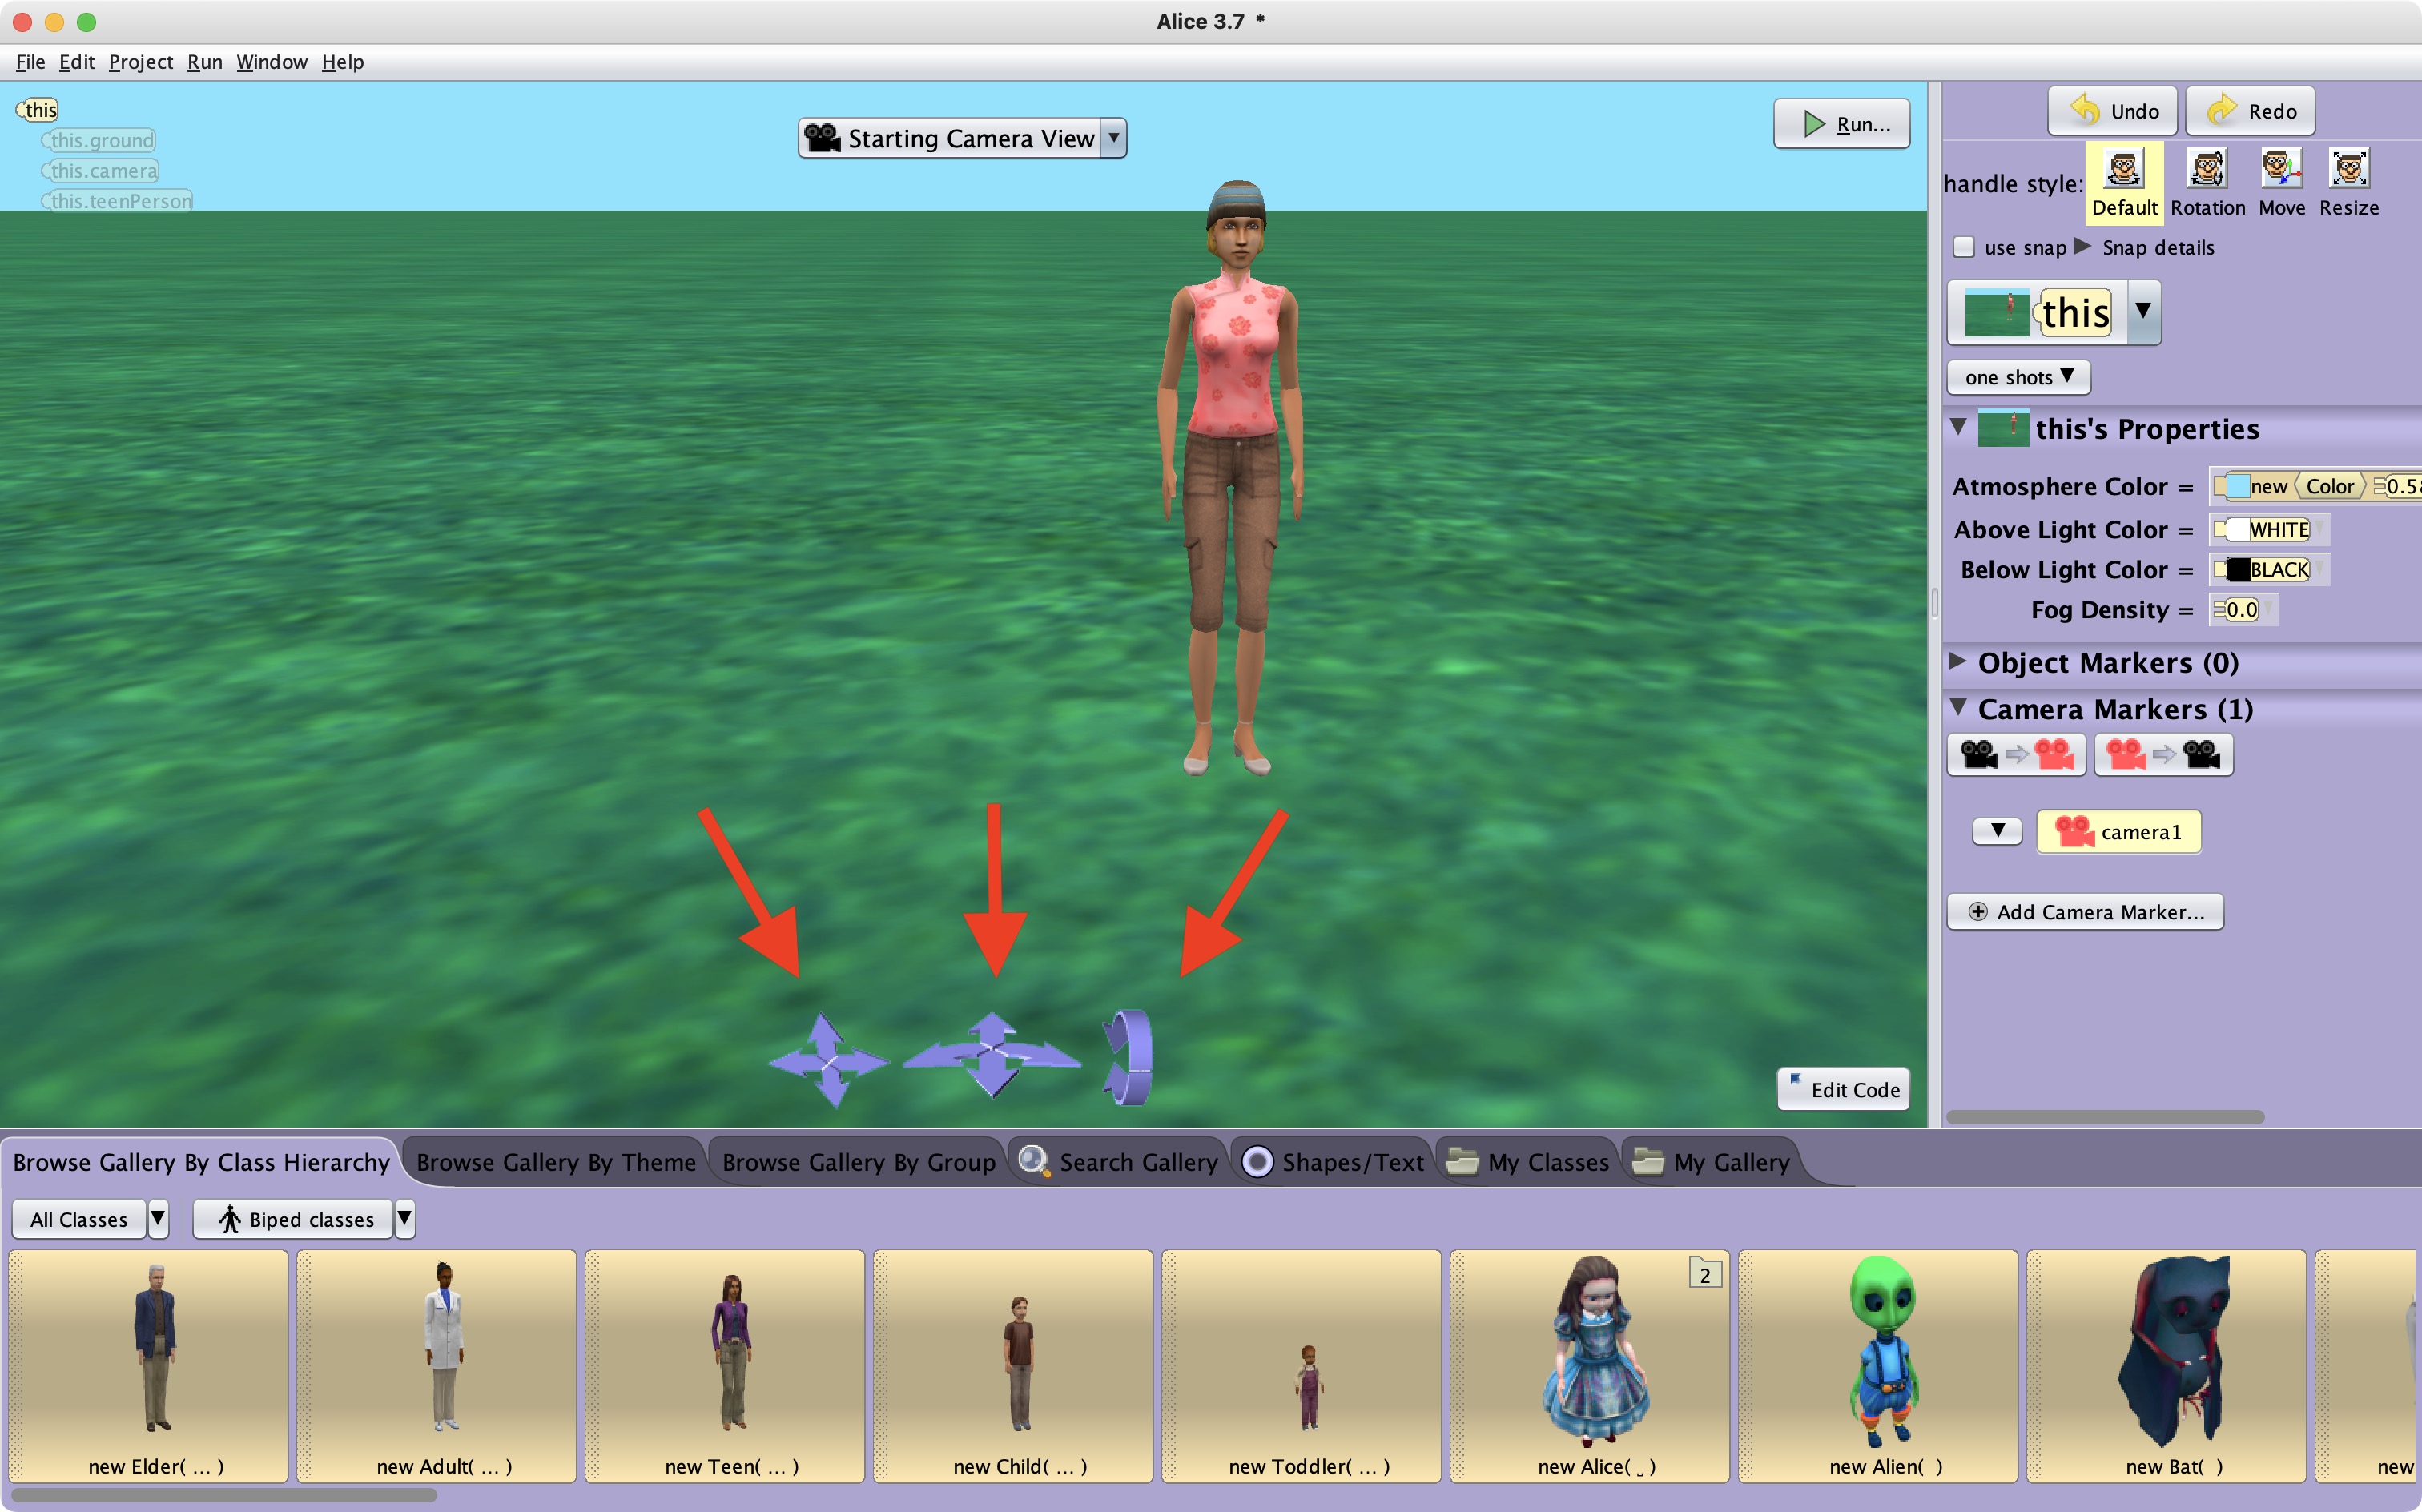
Second is the scene editor:
Security Permissions
One. last. setup. step. 😅
The first time you add a model to a scene and try to move it, you will be prompted to allow Alice to "control" the computer.
This is necessary only so that Alice can function correctly while it is running – do not worry!
Here's what to do so that Alice has the permissions it needs to run:

More About the Scene Editor
Optionally, although it is recommended, learn a bit about the basics of the scene editor by watching this 2-minute video:
Explore the Scene Editor
Take a few minutes and explore the scene editor!
Add a few different 3D models to the scene.
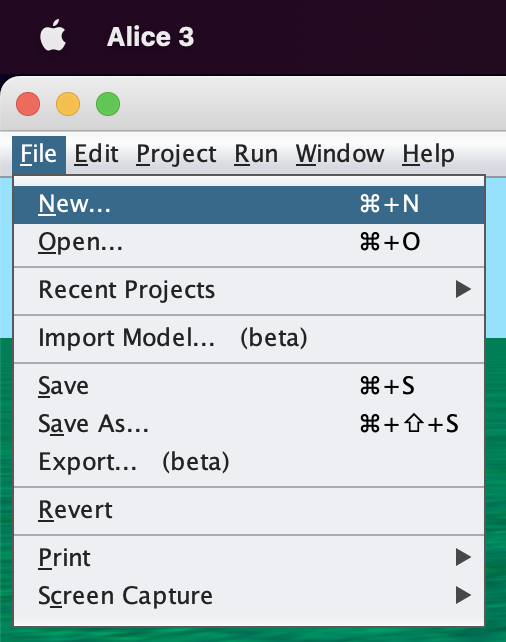
You can also choose File > New... and choose a different starting scene. ☺️
When you are ready, keep reading below.
Move the Camera
In any 3D world, the ability to change the perspective of the camera is key.
Try out each of these controls – what do they do?
When you move the camera, if you don't like what just happened, use undo via the Command-Z keyboard shortcut.
If you want to redo the last movement, press Command-Y.
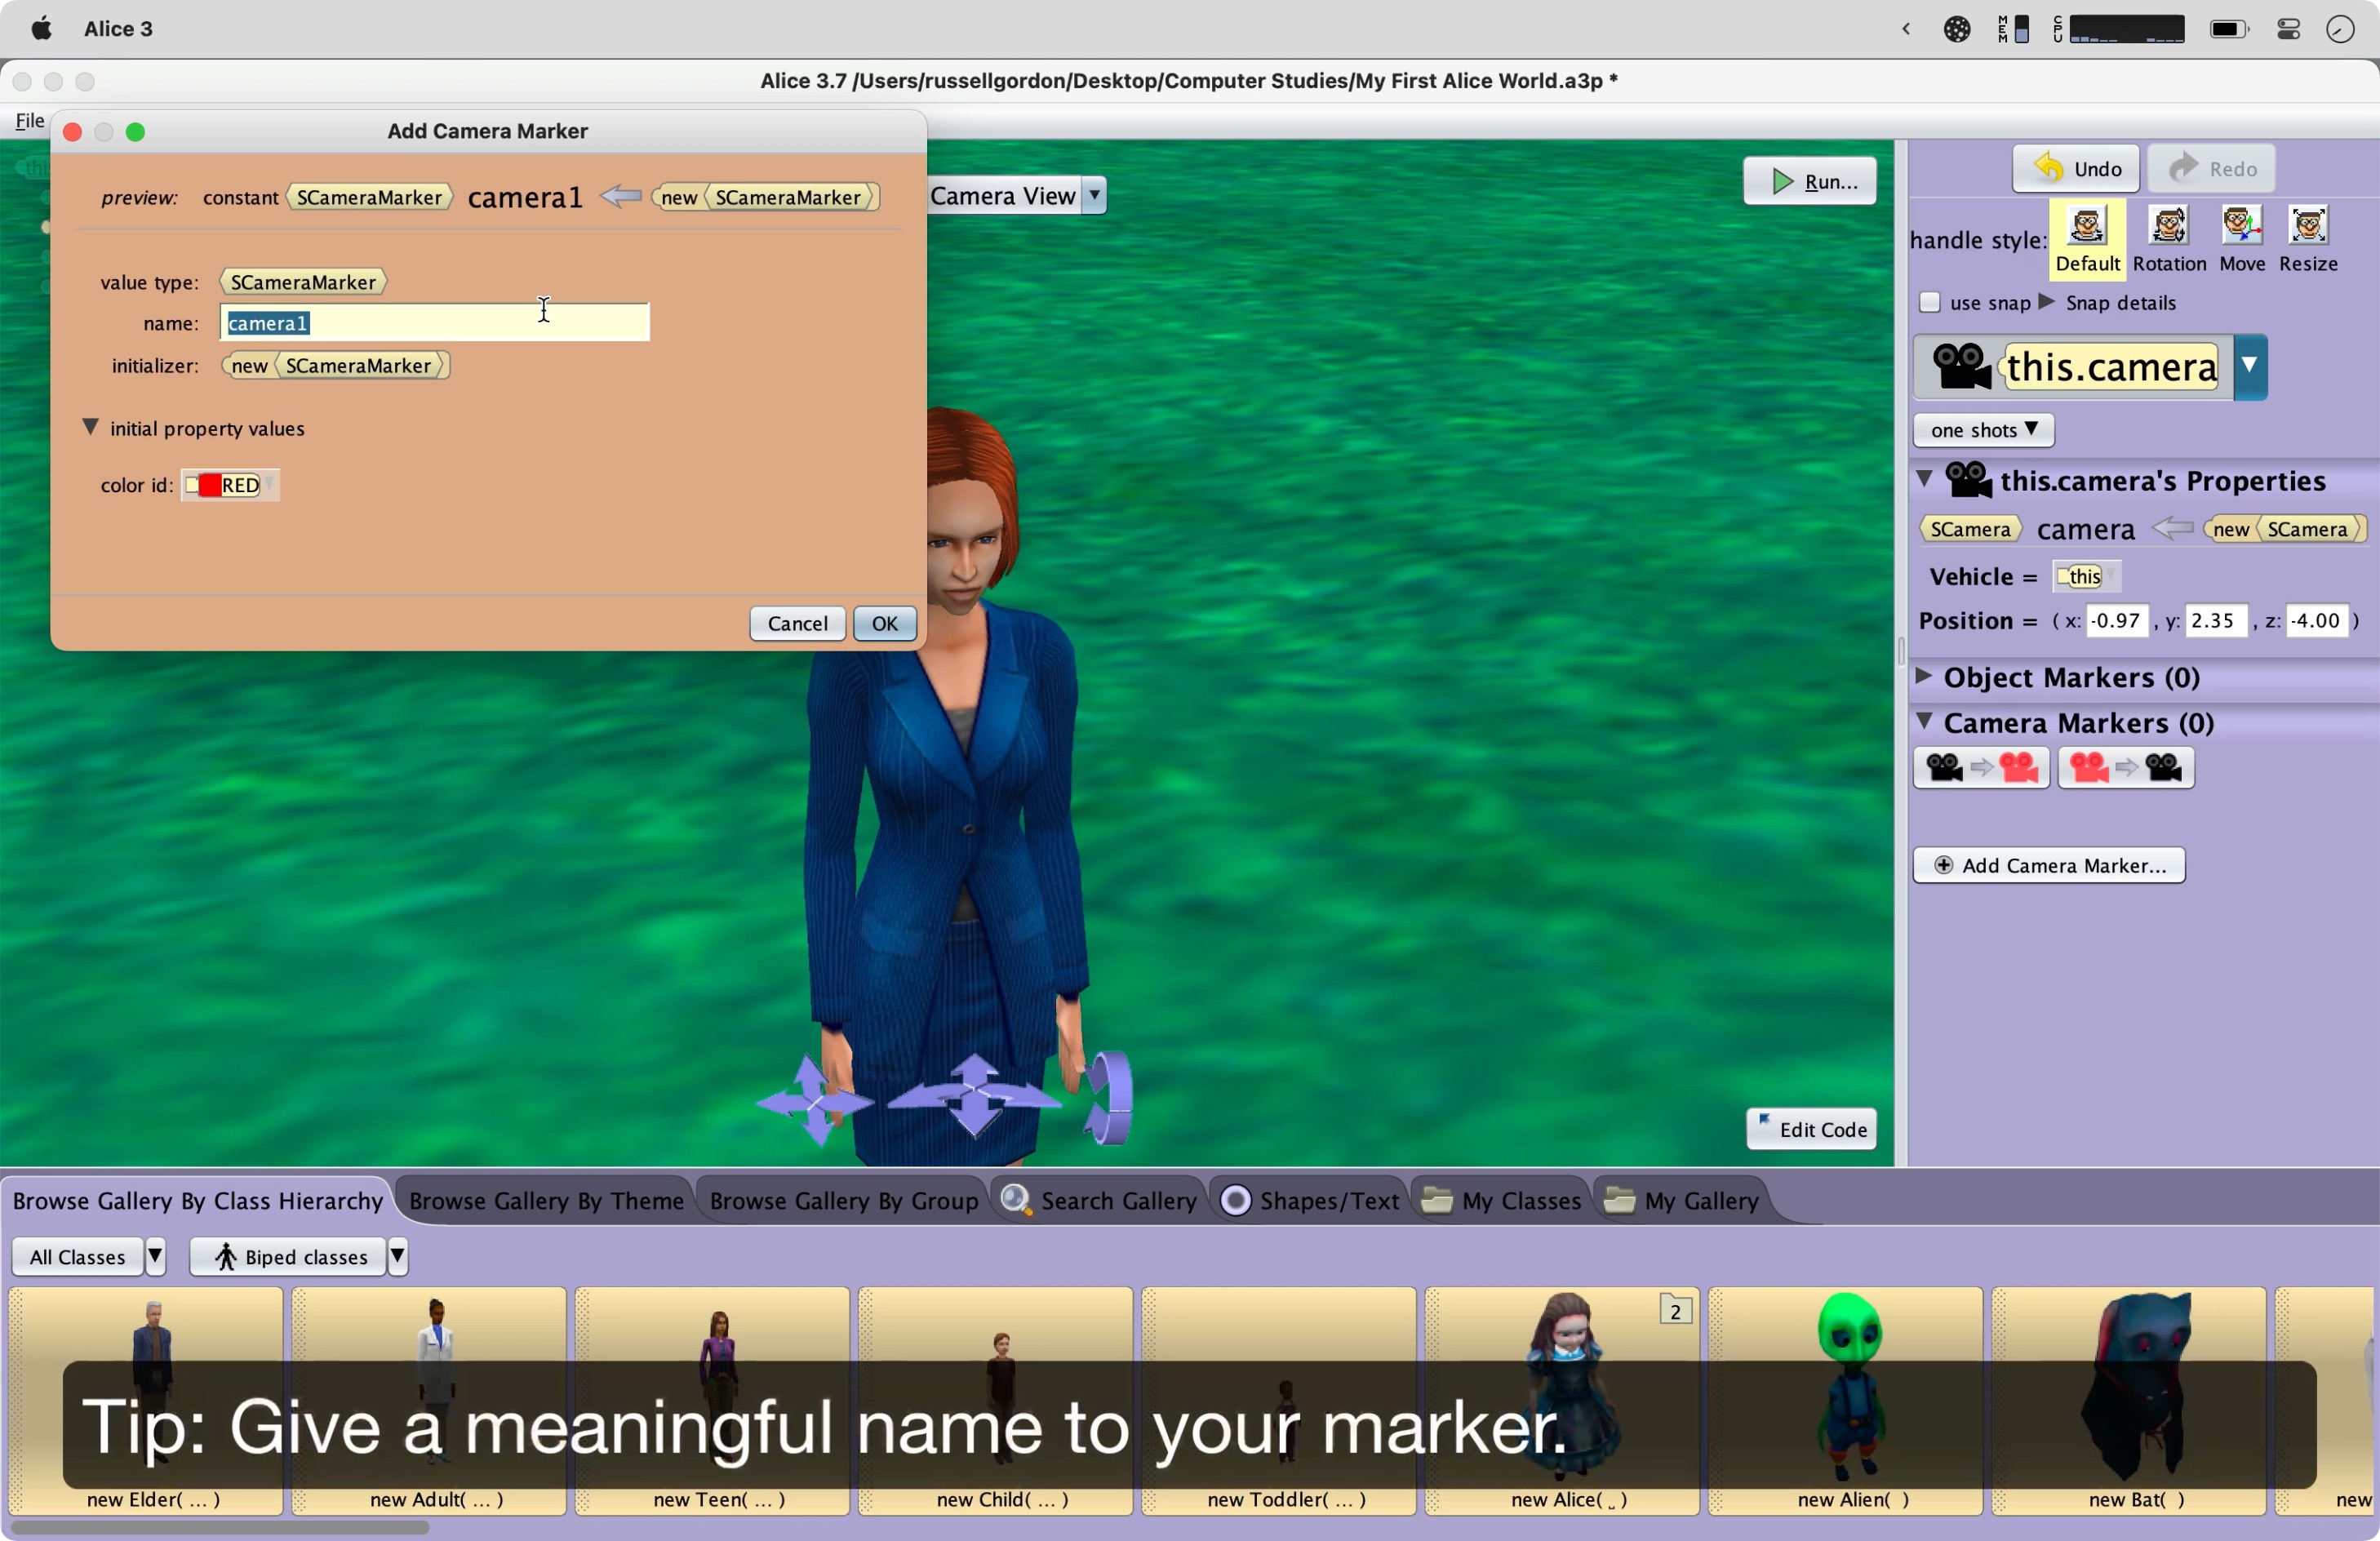
Camera Markers and One Shot Procedures
When telling a story in 3D, it's often nice to switch the camera's perspective.
Imagine if you watched a movie and the camera always stayed in the same position. That would be pretty boring!
You can "drop" camera markers and then move the camera to and from those markers.
You can also run "one-shot" procedures to make objects do things when setting up a scene.
Here's a short silent video showing how to use one-shot procedures and camera markers:
Saving a World
Once you save an Alice world, Alice will make periodic automatic backups for you.
However, until you save for the first time, no backups will be made.
Therefore, it's a really good idea to save early once you begin making a new Alice world.
To do so, choose File > Save... and then save into your Computer Studies folder:

As you work, if your Alice world has unsaved changes, an asterisk appears beside the filename:

If you want to be certain your most recent work is saved (rather than relying on the autosave feature) you can quickly save your work by pressing Command-S. The asterisk disappears to indicate the file has been saved.
Exercise
Make a Scene
Use the rest of this period to get familiar with the Scene Editor in Alice.
In particular, be sure that you:
Think of a story you want to tell using this scene!
Remember to save your work.
We will begin learning how to bring a scene to life in our next class.
Before the end of this class, make a post on Notion showing your progress. Write a bit about a story you might tell within the scene you created.
Optionally, keep working on your scene a little bit more for Study tonight and make a follow-up post on Notion to share your improvements.